
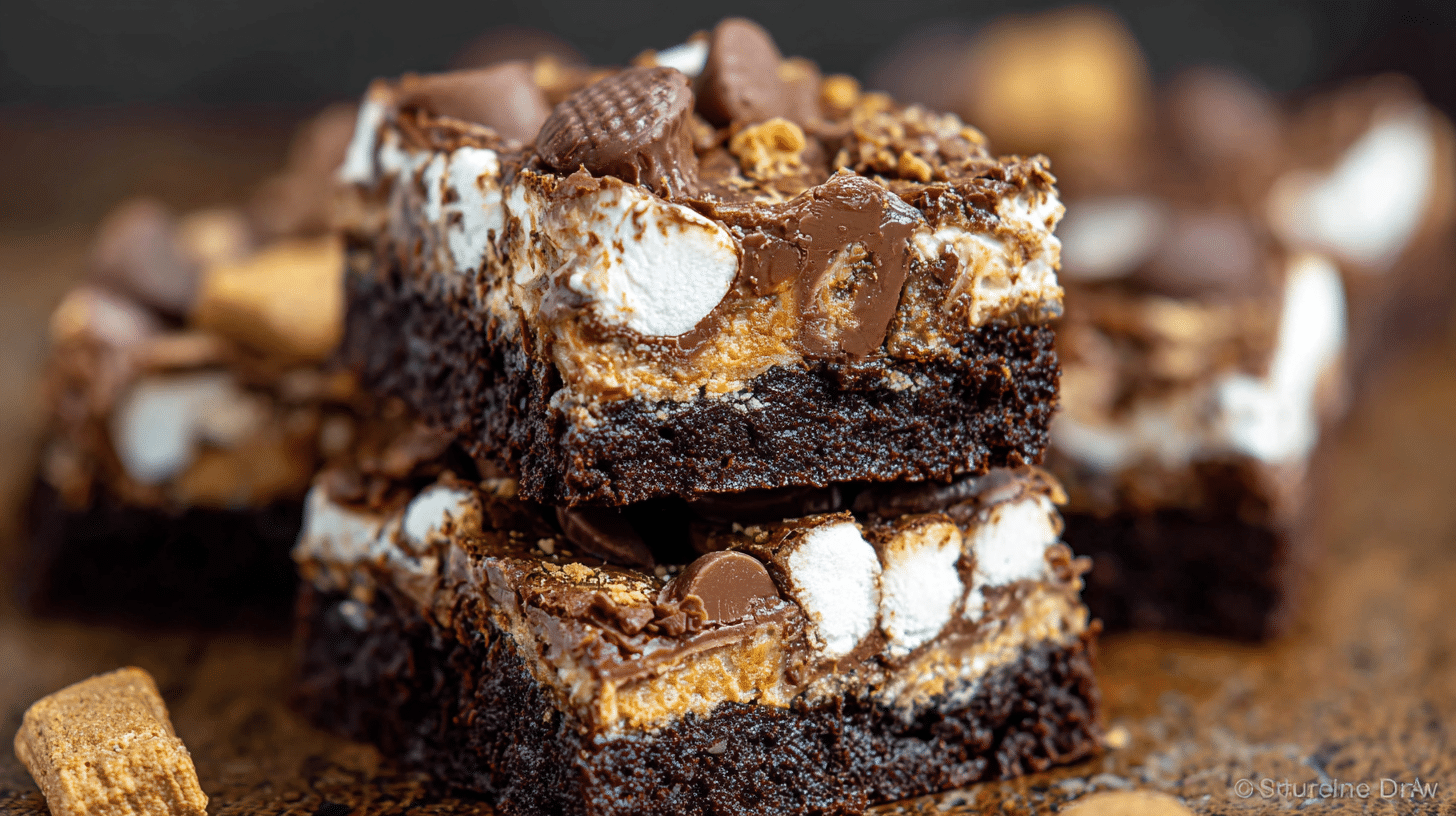
Rich, gooey, and loaded with layers of chocolate and peanut butter, Reese’s Marshmallow Brownies deliver the ultimate dessert experience. Imagine biting into a fudgy brownie base topped with melted marshmallows and chunks of creamy peanut butter cups, all finished with a silky chocolate drizzle. These brownies combine nostalgic candy flavors with homemade indulgence, creating a treat that feels both playful and decadent. Perfect for parties, bake sales, or late-night cravings, this recipe guarantees bold flavor in every square. You’ll learn how to build irresistible layers and achieve that perfect chewy-meets-gooey texture.
Why You’ll Love This Recipe
There’s no denying that Reese’s Marshmallow Brownies bring serious wow factor to the table. The first layer features a dense, chocolatey brownie with crackly edges and a soft, fudgy center. On top, marshmallows melt into a fluffy blanket that adds airy sweetness. Finally, chopped peanut butter cups create creamy pockets of nutty richness that balance the chocolate perfectly.
Texture plays a major role here. You get chewy brownie edges, soft marshmallow pull, and smooth peanut butter candy in one bite. The combination feels indulgent but comforting at the same time.
This recipe also stays simple and approachable. You can prepare it for birthdays, holidays, or whenever you crave peanut butter marshmallow brownies. If you enjoy chocolate peanut butter brownies or marshmallow fudge brownie bars, this dessert will quickly earn a permanent spot in your recipe collection.
Ingredients
To make 16 squares of Reese’s Marshmallow Brownies, gather:
For the Brownie Base:
1/2 cup unsalted butter, melted (113g)
1 cup granulated sugar (200g)
2 large eggs
1 tsp vanilla extract (5ml)
3/4 cup unsweetened cocoa powder (75g)
1/2 cup all-purpose flour (60g)
1/4 tsp salt (1g)
1/2 tsp baking powder (2g)
For the Topping:
2 cups mini marshmallows (100g)
8 full-size Reese’s peanut butter cups, chopped (about 150g)
1/2 cup semi-sweet chocolate chips (85g)
1 tbsp peanut butter (15g)
Butter and cocoa create a rich base, while marshmallows add sweetness and texture. Peanut butter cups provide signature candy flavor that defines these brownies.
Pro Tips
To master Reese’s Marshmallow Brownies, focus on three key techniques.
First, avoid overbaking the brownie base. Bake until the center looks slightly set but still soft. The brownies continue cooking once removed from the oven.
Second, add marshmallows at the right moment. Sprinkle them over hot brownies during the final minutes of baking. This allows them to puff without burning.
Third, drizzle chocolate while brownies remain warm but not hot. Warm surfaces help the chocolate spread smoothly without melting completely into the marshmallow layer.
These small details create perfectly layered, bakery-style results.
Instructions
Step 1: Preheat and Prepare Pan
Preheat oven to 350°F (175°C). Line an 8×8-inch (20×20 cm) baking pan with parchment paper.
Step 2: Mix Wet Ingredients
In a large bowl, whisk melted butter and sugar until smooth. Add eggs one at a time, mixing thoroughly. Stir in vanilla extract.
Step 3: Combine Dry Ingredients
Sift cocoa powder, flour, salt, and baking powder into the bowl. Stir gently until fully combined without overmixing.
Step 4: Bake the Brownie Layer
Pour batter into prepared pan and spread evenly. Bake for 20–22 minutes until the center looks slightly set.
Step 5: Add Marshmallows
Remove pan from oven. Immediately sprinkle mini marshmallows evenly across the top. Return to oven for 3–4 minutes until marshmallows puff.
Step 6: Add Peanut Butter Cups
Remove brownies and scatter chopped Reese’s peanut butter cups over the warm marshmallow layer. Press lightly so they adhere.
Step 7: Prepare Chocolate Drizzle
Melt chocolate chips with peanut butter in a microwave-safe bowl in 20-second intervals, stirring until smooth.
Step 8: Finish and Cool
Drizzle melted chocolate mixture over the top. Allow brownies to cool completely before slicing for clean squares.
Following these steps ensures your Reese’s Marshmallow Brownies have perfect texture and structure.
Variations
You can easily customize Reese’s Marshmallow Brownies to suit your taste.
For an extra peanut butter punch, swirl 2 tablespoons of peanut butter into the brownie batter before baking.
For a crunchy version, sprinkle chopped roasted peanuts over the marshmallow layer before adding chocolate drizzle.
For a gluten-free option, substitute all-purpose flour with a 1:1 gluten-free baking blend. The texture remains rich and fudgy.
You can also use dark chocolate chips instead of semi-sweet for deeper flavor similar to rich chocolate peanut butter fudge brownies.
Storage/Serving
Store Reese’s Marshmallow Brownies in an airtight container at room temperature for up to 3 days. For longer storage, refrigerate for up to 1 week.
If stacking brownies, place parchment paper between layers to prevent sticking. You can freeze them for up to 2 months by wrapping tightly.
Serve at room temperature for best texture. Warm slightly and top with vanilla ice cream for an indulgent dessert. Pair with coffee or cold milk for a classic sweet treat experience.
FAQs
Can I use boxed brownie mix?
Yes. Prepare the mix as directed, then add marshmallow and candy toppings.Why are my marshmallows hard?
Overbaking can cause marshmallows to firm up. Add them during the final minutes only.Can I use large marshmallows?
Yes, but cut them into smaller pieces for even coverage.How do I get clean cuts?
Cool completely and use a sharp knife wiped clean between slices.Can I double the recipe?
Yes. Use a 9×13-inch pan and increase baking time slightly.
This Reese’s Marshmallow Brownies is comfort food at its finest — rich chocolate brownie layers topped with gooey marshmallows and creamy peanut butter candy in every bite. It’s the kind of dish that brings smiles to parties, satisfies serious sweet cravings, and turns simple baking into a memorable dessert experience.