
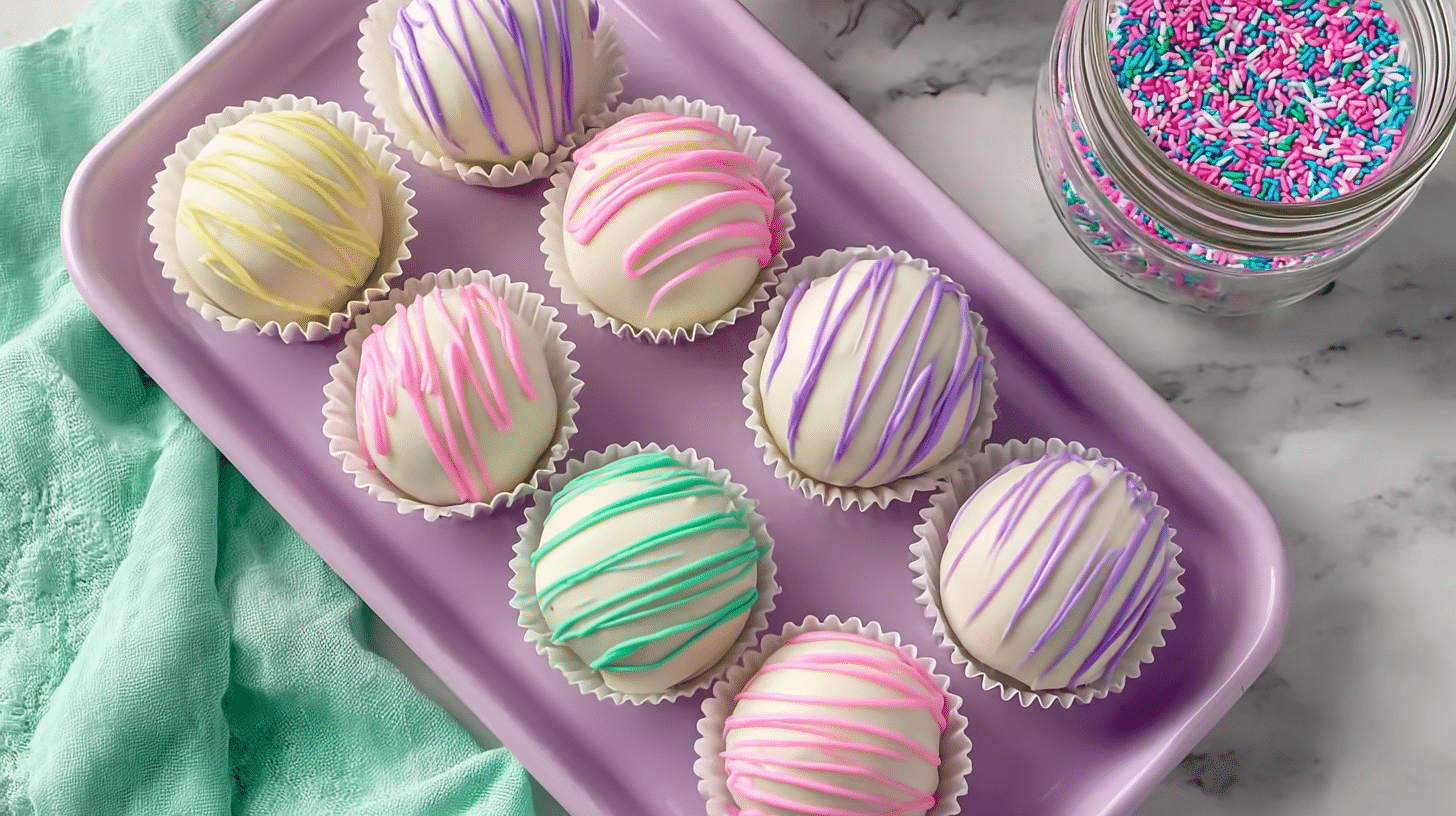
Sweet, creamy, and coated in a delicate chocolate shell, Simple Easter Cake Balls bring festive charm and irresistible flavor to your holiday table. Each bite delivers soft cake crumbles blended with rich frosting, all wrapped in a smooth candy coating and topped with colorful sprinkles. These cheerful treats look bakery-worthy but require minimal effort in your own kitchen. Perfect for Easter baskets, dessert platters, or family gatherings, they combine fun decorating with crowd-pleasing taste. You’ll learn how to create perfectly shaped, beautifully coated cake balls that stay moist and delicious.
Why You’ll Love This Recipe
You’ll fall in love with Simple Easter Cake Balls because they strike the perfect balance between convenience and creativity. First, they transform a simple baked cake into bite-sized treats that look impressive and festive. The contrast between the tender, moist cake center and the crisp chocolate coating creates a delightful texture in every bite.
They’re also incredibly versatile. You can customize colors, sprinkles, and flavors to match your Easter theme. Kids love helping roll and decorate them, which makes this recipe a fun family activity. Unlike elaborate desserts that demand advanced skills, these cake balls come together easily with straightforward steps.
Serve them after a savory meal like garlic pasta with bacon or alongside a light spring salad. Their pastel colors and sweet aroma instantly brighten any dessert table while keeping preparation stress-free.
Ingredients
To make Simple Easter Cake Balls, gather the following:
1 box (15.25 oz / 432 g) vanilla or yellow cake mix
Ingredients listed on the cake mix (typically 3 eggs, ½ cup / 120 ml oil, 1 cup / 240 ml water)
½ cup (120 g) vanilla frosting, store-bought or homemade
12 oz (340 g) white chocolate or candy melts
1 tablespoon (15 ml) vegetable oil (optional, for thinning coating)
¼ cup (40 g) pastel sprinkles or Easter-themed decorations
The cake forms the soft interior, while frosting binds the crumbs into smooth, rollable dough. High-quality candy melts ensure a glossy, firm outer shell.
Pro Tips
Don’t Overmix the Crumbs: Once you crumble the cooled cake, mix in frosting gradually. Add just enough to create a dough that holds together. Too much frosting makes the balls too soft.
Chill Before Dipping: Refrigerate the rolled cake balls for at least 30 minutes. This step helps them maintain shape and prevents cracking during coating.
Thin the Chocolate Carefully: If candy melts feel thick, stir in a small amount of vegetable oil. Smooth coating ensures an even, professional finish.
These three techniques guarantee beautifully shaped and coated cake balls every time.
Instructions
Step 1: Bake the Cake
Prepare the cake mix according to package instructions. Bake in a 9×13-inch pan until a toothpick inserted in the center comes out clean. Allow the cake to cool completely.
Step 2: Crumble the Cake
Once cooled, break the cake into large pieces and place them in a large bowl. Use clean hands or a fork to crumble into fine, even crumbs.
Step 3: Mix with Frosting
Add vanilla frosting gradually to the crumbs. Mix until the texture resembles soft dough that holds together when pressed.
Step 4: Shape the Balls
Scoop about 1 tablespoon of mixture and roll into smooth balls. Place them on a parchment-lined baking sheet. Repeat until all mixture is used.
Step 5: Chill Thoroughly
Refrigerate the cake balls for 30–45 minutes until firm. This step ensures easy dipping and neat coating.
Step 6: Melt the Coating
Melt white chocolate or candy melts in a microwave-safe bowl in 30-second intervals, stirring between each. If needed, stir in vegetable oil for a thinner consistency.
Step 7: Dip and Decorate
Using a fork or dipping tool, submerge each cake ball in melted chocolate. Tap gently to remove excess coating. Place back on parchment and immediately decorate with pastel sprinkles.
Step 8: Let Set
Allow the coating to firm at room temperature or refrigerate briefly until fully set. Serve once chocolate hardens completely.
Variations
Create chocolate cake balls by using chocolate cake mix and chocolate frosting for a rich twist. Coat them in dark chocolate for extra depth.
For a fruity version, use strawberry cake mix and pink candy melts. This variation pairs beautifully with spring-themed desserts like lemon bars.
If you prefer a lighter option, reduce frosting slightly and use low-fat cream cheese frosting. You can also add shredded coconut for a subtle texture boost. These variations keep the base recipe flexible and fun while preserving the festive appeal of Simple Easter Cake Balls.
Storage and Serving Suggestions
Store Simple Easter Cake Balls in an airtight container in the refrigerator for up to 5 days. Let them sit at room temperature for 10–15 minutes before serving for the best texture.
For longer storage, freeze them in a sealed container for up to 2 months. Thaw overnight in the refrigerator before serving.
Arrange them on a decorative platter for Easter brunch or place them in cupcake liners for easy gifting. Pair them with coffee, tea, or even a light dessert spread after a savory meal like creamy tomato pasta to balance flavors.
FAQs
Can I make these ahead of time?
Yes, prepare them up to 3 days in advance and store in the refrigerator.Why are my cake balls cracking?
Rapid temperature changes can cause cracks. Let chilled cake balls sit at room temperature briefly before dipping.Can I use homemade cake instead of boxed mix?
Absolutely. Any sturdy cake recipe works well.How do I prevent the coating from clumping?
Ensure the cake balls stay cold and the chocolate remains smooth and properly melted.Can I color white chocolate?
Yes, use oil-based food coloring for best results.
This [Roasted Red Pepper, Spinach, and Mozzarella Stuffed Chicken] is comfort food at its finest — sweet, soft cake centers wrapped in glossy chocolate and decorated in cheerful pastel colors. It’s the kind of dish that brings families together, adds festive joy to holiday tables, and turns simple ingredients into memorable Easter treats.