
Introduction
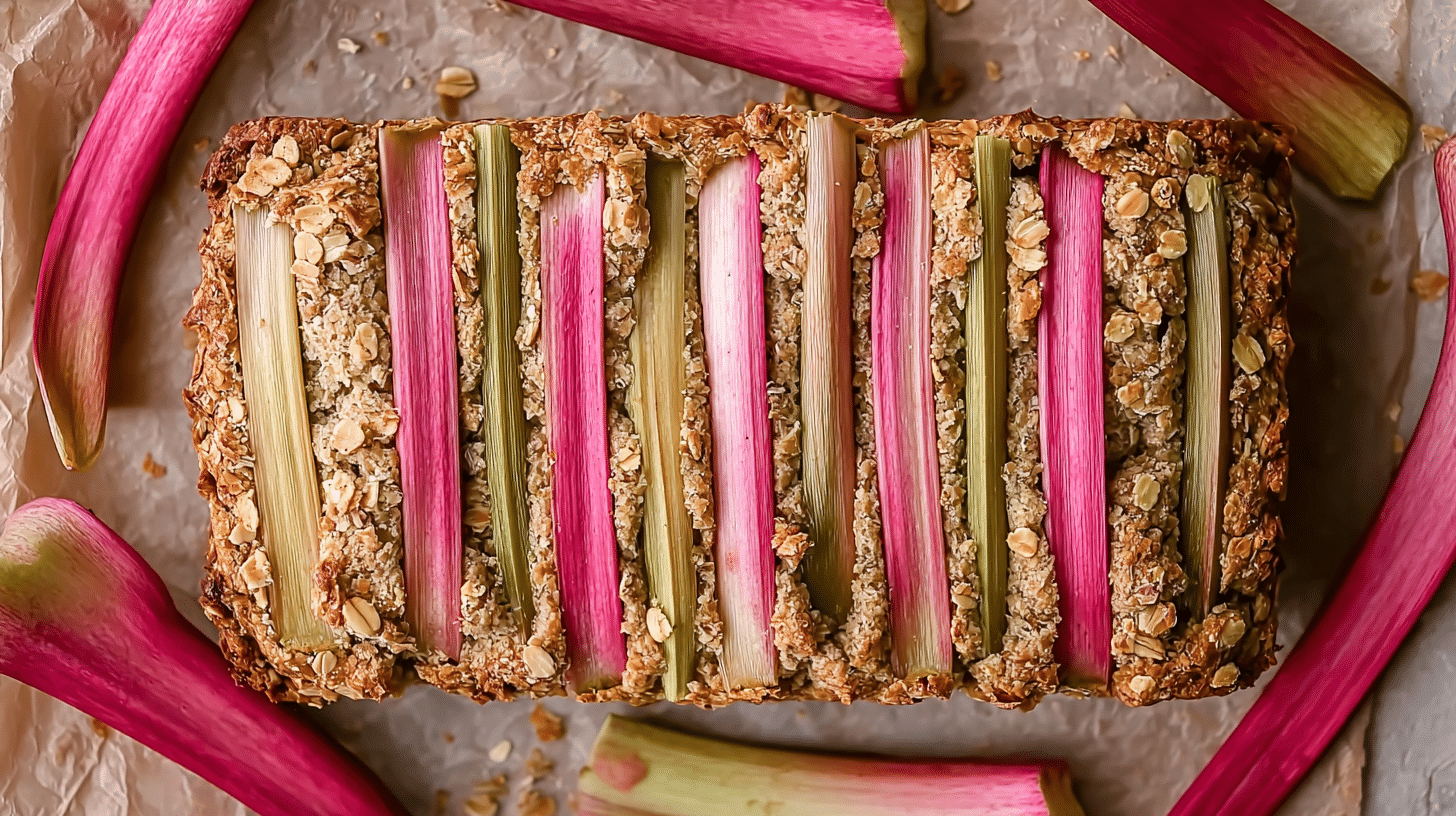
Warm, tender, and lightly tangy, Homemade Rhubarb Oat Bread fills your kitchen with an irresistible aroma the moment it starts baking. This comforting loaf blends wholesome oats with tart rhubarb, creating a perfect balance of hearty texture and subtle sweetness. It stands out as a unique twist on traditional quick breads while remaining easy enough for everyday baking. Whether you enjoy it for breakfast or a cozy afternoon snack, this recipe never disappoints. You’ll learn how to bake a moist, flavorful loaf with simple ingredients and foolproof techniques.
Why You’ll Love This Recipe
There are plenty of reasons to fall in love with Homemade Rhubarb Oat Bread. First, it offers a beautiful contrast of textures. The oats create a slightly chewy, hearty crumb, while the rhubarb adds bursts of soft, tangy juiciness throughout each slice. This balance keeps every bite interesting and satisfying.
Another highlight is how simple it is to prepare. You don’t need advanced baking skills or special equipment. With basic pantry ingredients and a few easy steps, you can create a bakery-quality loaf at home.
This bread also fits seamlessly into different meals. Serve it warm with butter for breakfast, enjoy it alongside coffee, or pair it with savory dishes like roasted chicken or even creamy garlic pasta with bacon for a sweet contrast.
Plus, it stores well, making it ideal for meal prep or busy weeks when you want something homemade ready to go.
Ingredients
To make Homemade Rhubarb Oat Bread, gather these ingredients:
1 1/2 cups (180g) all-purpose flour
1 cup (90g) rolled oats, plus extra for topping
1 teaspoon baking soda
1/2 teaspoon baking powder
1/2 teaspoon salt
1 teaspoon ground cinnamon for warmth
3/4 cup (150g) brown sugar for rich sweetness
2 large eggs, room temperature
1/2 cup (120ml) vegetable oil or melted butter
1 cup (240ml) buttermilk for moisture and tang
1 1/2 cups (180g) fresh rhubarb, chopped into small pieces
Each ingredient plays a key role. The oats add structure, the rhubarb brings brightness, and the buttermilk ensures a moist, tender crumb.
Pro Tips
To get the best results with Homemade Rhubarb Oat Bread, focus on a few essential techniques.
First, don’t overmix the batter. Stir until the ingredients just combine. Overmixing can make the bread dense instead of soft and tender. A few small lumps in the batter are perfectly fine.
Second, cut the rhubarb evenly. Small, uniform pieces distribute better throughout the loaf. This ensures every slice has a balanced flavor without large, overly tart chunks.
Third, let the bread rest after baking. Allow it to cool in the pan for about 10 minutes, then transfer it to a wire rack. This step helps the structure set properly and makes slicing easier. Cutting too early can cause the loaf to crumble.
Instructions
Follow these step-by-step instructions to make Homemade Rhubarb Oat Bread perfectly.
Step 1: Prepare the Oven and Pan
Preheat your oven to 350°F (175°C). Grease a standard 9×5-inch loaf pan or line it with parchment paper for easy removal.
Step 2: Mix Dry Ingredients
In a large bowl, whisk together the flour, oats, baking soda, baking powder, salt, and cinnamon. This ensures even distribution of leavening agents.
Step 3: Combine Wet Ingredients
In another bowl, whisk the eggs, brown sugar, oil, and buttermilk until smooth and well blended. The mixture should look creamy and slightly thick.
Step 4: Create the Batter
Pour the wet mixture into the dry ingredients. Stir gently until just combined. Avoid overmixing to keep the texture soft.
Step 5: Fold in Rhubarb
Add the chopped rhubarb and fold it into the batter with a spatula. Make sure it spreads evenly without crushing the pieces.
Step 6: Transfer and Top
Pour the batter into the prepared loaf pan. Sprinkle a small handful of oats on top for a rustic finish.
Step 7: Bake the Bread
Bake for 50–60 minutes, or until a toothpick inserted in the center comes out clean. The top should look golden brown and slightly crisp.
Step 8: Cool and Slice
Let the bread cool in the pan for 10 minutes, then transfer it to a rack. Once fully cooled, slice and enjoy.

Variations
You can easily customize Homemade Rhubarb Oat Bread to suit your taste.
For a sweeter version, add 1/2 cup of chopped strawberries. This creates a strawberry rhubarb oat bread variation with a more balanced flavor profile.
If you prefer a healthier twist, substitute half the flour with whole wheat flour. This adds extra fiber and a slightly nutty taste.
For a nutty texture, mix in 1/2 cup of chopped walnuts or pecans. This variation pairs beautifully with the oats and adds crunch, similar to rustic oat breakfast bread recipes.
Storage and Serving
Store Homemade Rhubarb Oat Bread in an airtight container at room temperature for up to 2 days. For longer storage, keep it in the refrigerator for up to 5 days. Always wrap it tightly to maintain moisture.
You can also freeze individual slices. Wrap them in plastic wrap and place them in a freezer-safe bag. Thaw at room temperature or warm them gently in the oven.
Serve this bread slightly warm with butter or cream cheese. It also pairs well with tea or coffee. For a creative twist, toast a slice and top it with honey or yogurt for a quick breakfast.
FAQs
Can I use frozen rhubarb?
Yes, you can. Thaw it first and drain excess liquid to prevent a soggy batter.
Why is my bread too dense?
Overmixing the batter often causes density. Mix gently until just combined.
Can I make this bread dairy-free?
Yes, replace buttermilk with a plant-based milk mixed with a teaspoon of vinegar.
How do I know when the bread is done?
Insert a toothpick into the center. If it comes out clean, the bread is ready.
Can I reduce the sugar?
Yes, you can reduce it slightly, but keep in mind that rhubarb is quite tart.
Conclusion
This Homemade Rhubarb Oat Bread is comfort food at its finest — a wholesome, tender loaf filled with tangy rhubarb and hearty oats that create a perfect balance of flavor and texture. It’s the kind of dish that brings warmth to your kitchen and works beautifully for breakfast, snacks, or sharing with loved ones.