Traditional Open Roasting
Overview of Open Roasting
Open roasting, a method as timeless as cooking itself, involves cooking chuck roast in an uncovered pan at a high temperature. This technique, ideal for cuts that start off tender, aims to create a well-browned exterior while maintaining a moist interior. However, it’s like walking a tightrope; the balance between perfect and parched is perilously thin.
When to Use Open Roasting for Chuck Roast
Now, you might be wondering, “When should I trot out open roasting for my chuck roast?” Well, here’s the rub: open roasting suits cuts like tenderloin more than our hearty chuck. Given its robust texture, chuck roast tends to fare better with methods that coax out its tenderness over time rather than the high-heat hustle of open roasting. So, unless you’re a wizard with a wand that transforms the tough into the tender, you might want to steer clear of this method for your chuck.
Braising: The Preferred Method
Why Braising Works Best for Chuck Roast
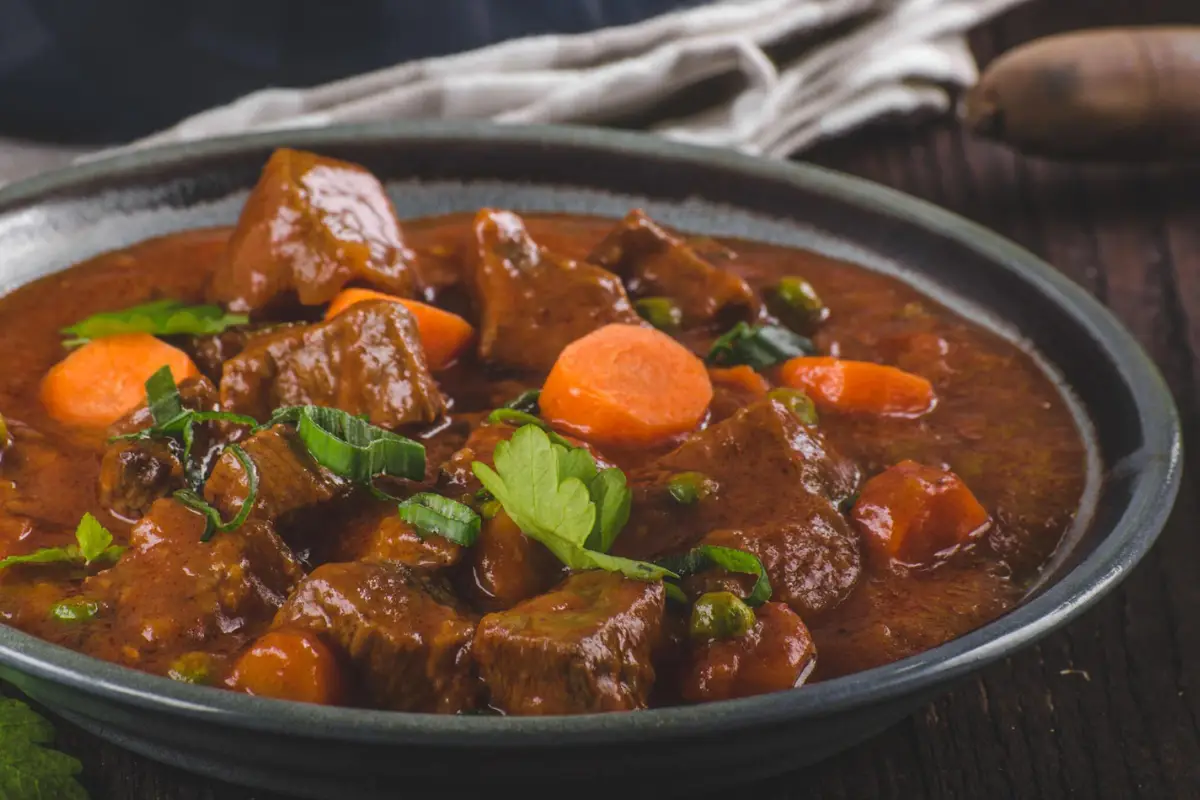
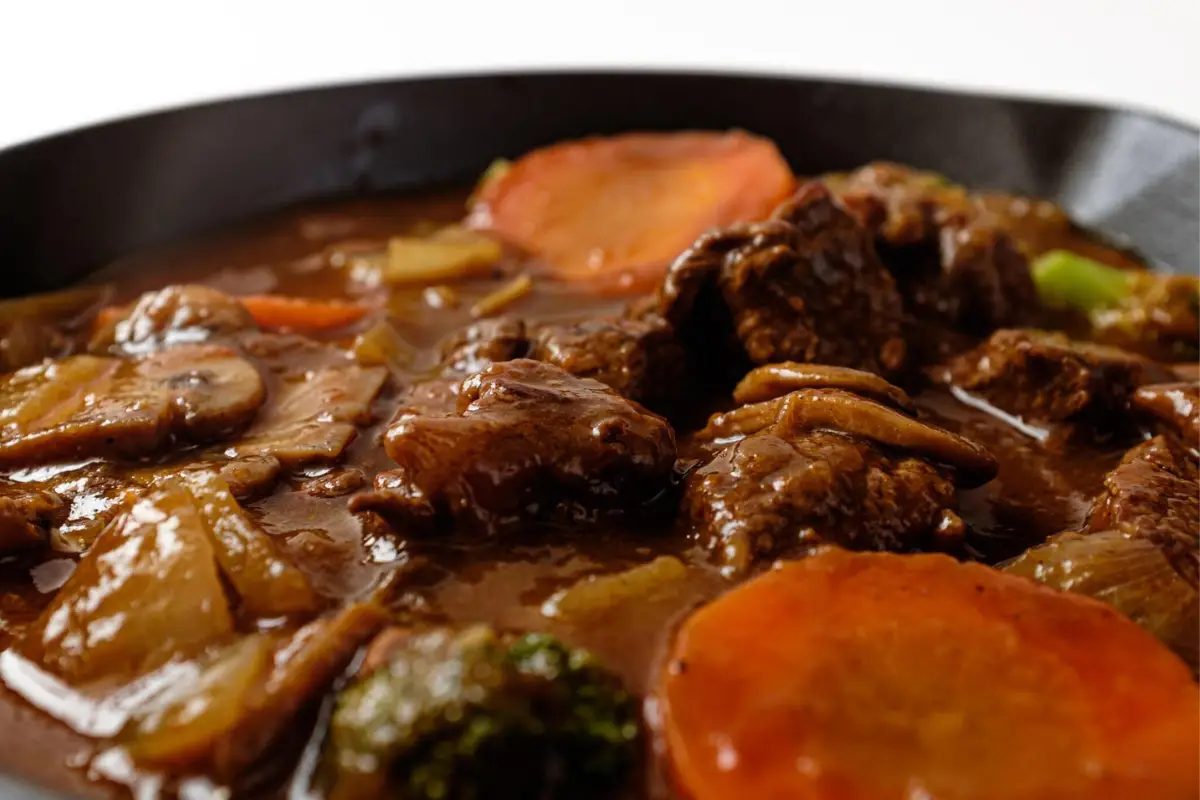
Braising, the slow-cooking hero of the culinary world, is where chuck roast truly shines. This method involves first browning the meat on all sides to lock in flavor, then cooking it slowly in a little liquid. The magic of braising lies in its ability to transform the toughest cuts into a tender, flavorful feast. It’s like giving your chuck roast a spa day, resulting in meat so tender that it practically melts in your mouth.
Step-by-Step Guide to Braising Chuck Roast
- Brown the Beast: Start by giving your chuck roast a good sear in a hot pan with a bit of oil. This step is crucial for developing those deep, complex flavors we all crave.
- The Liquid Gold: After browning, transfer your roast to a pot and add just enough broth, wine, or water to come up about halfway up the meat. This liquid will be our braising medium, turning into a sauce that’s pure gold.
- Low and Slow: Cover the pot and let it simmer gently. The key here is patience; a low heat over several hours allows the tough fibers in the meat to break down, transforming your chuck roast into a tender triumph.
Tips for Perfect Braising
- Keep it Covered: Make sure your pot has a tight-fitting lid to keep all that steam and flavor locked in.
- Don’t Peek: Resist the urge to lift the lid too often. Every peek lets out steam and can extend cooking time.
- Go Low: Keep the heat low. Braising is a marathon, not a sprint. High heat can cause the meat to toughen rather than tenderize.
By embracing the gentle art of braising, you’ll turn that chuck roast into a dish that’s not just a meal, but a masterpiece. Whether you’re a seasoned chef or a kitchen newbie, braising is your best bet for a chuck roast that’s not just cooked, but transformed.
Mastering Chuck Roast in the Crock Pot
Ah, the humble Crock Pot, a true marvel in the kitchen for those of us who juggle a million tasks and still want to put a hearty meal on the table. It’s like having an extra pair of hands that never get tired, are always patient, and simmer your chuck roast to perfection while you tackle your day.
Benefits of Using a Crock Pot
First off, let’s chat about why your Crock Pot might just become your new best friend, especially when it comes to cooking chuck roast. The beauty of slow cooking in a crock pot lies in its simplicity and the magic it works on tough cuts of meat. It transforms them into tender, fall-apart delicacies that are hard to achieve with any other cooking method. Plus, it’s incredibly forgiving. A little over or under on your timing usually doesn’t spell disaster.
How to Prepare Chuck Roast in a Crock Pot
Getting your chuck roast ready for the Crock Pot is as easy as pie. Well, actually, it’s easier than pie. Here’s a quick rundown:
- Start by giving your roast a good rubdown with some olive oil, sea salt, and ground black pepper. This simple seasoning allows the meat’s natural flavors to shine and makes for versatile leftovers.
- Heat a pan over medium-high heat and sear each side of the roast until it’s beautifully browned. This step locks in the flavors and gives the roast a delicious crust.
- Chop up a couple of large onions and lay them at the bottom of your crock pot. These will act as a natural rack for the roast, keeping it from getting soggy and adding a lovely flavor to the mix.
- Place your seared roast on top of the onions; no additional liquid is needed. The onions and the roast itself will release enough moisture to create the perfect braising environment.
Key Considerations for Crock Pot Cooking
Now, for a few pearls of wisdom to ensure your Crock Pot chuck roast is nothing short of spectacular:
- Patience is a virtue. Slow and steady wins the race here. Resist the urge to peek and let the Crock Pot do its thing.
- Size matters. Adjust cooking times based on the size of your roast. A larger roast will need more time to reach that perfect tenderness.
- To flip or not to flip? In the world of Crock Pot cooking, flipping isn’t necessary. The even, slow heat takes care of cooking the roast thoroughly without any need to disturb its slumber.
By embracing the slow-cooking prowess of your Crock Pot, you’ll unlock a whole new level of flavor and tenderness in your chuck roast. It’s a game-changer, especially for those busy days when time is of the essence but you still crave the comfort of a home-cooked meal.
Additional Tips and Tricks
Selecting the Right Cut
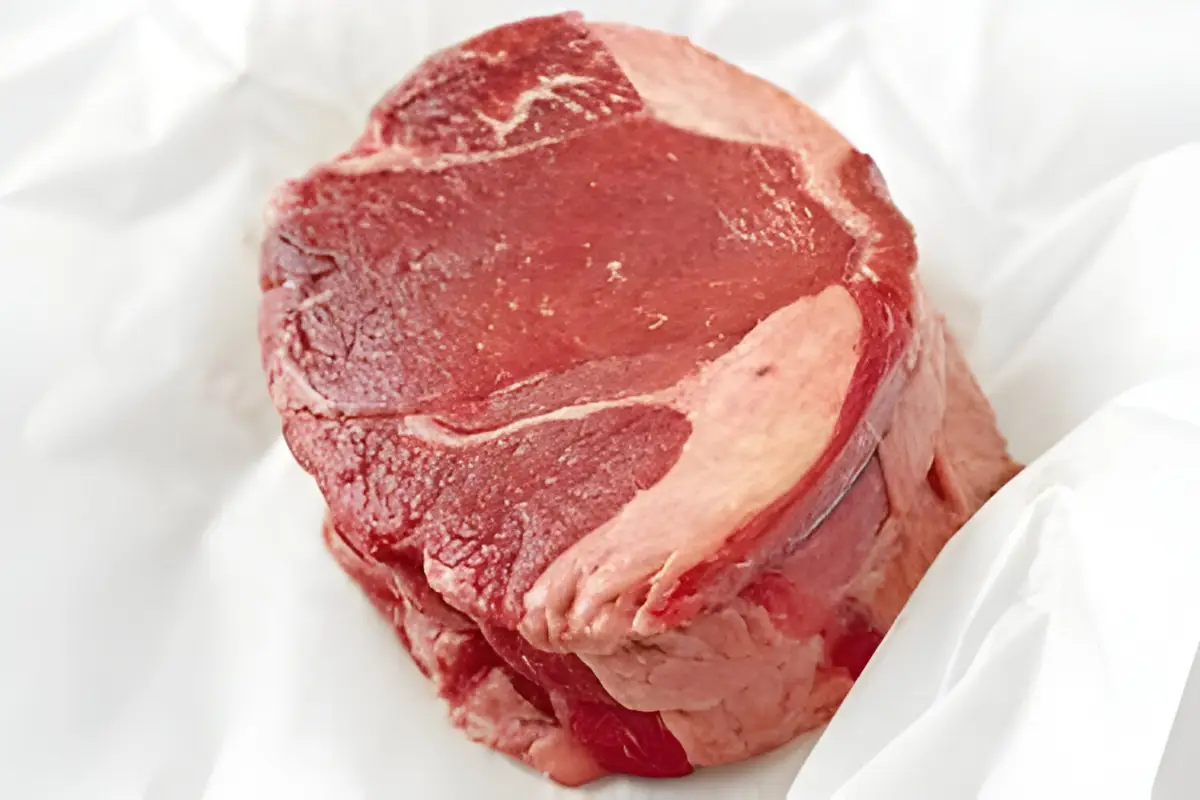
Navigating the maze of USDA grades can be as perplexing as a crossword puzzle. Yet, understanding these grades is crucial when you’re on the hunt for the perfect chuck roast. The USDA grades—Prime, Choice, Select, and others—serve as a beacon, guiding us through the quality of beef. Prime-grade, the crème de la crème of beef, is what you’d ideally want for a roast that’s both tender and flavorful. However, Choice or Select grades can also yield delicious results, especially when cooked with care.
Now, you might be thinking, “But how do I choose?” Well, it’s simpler than it seems. When in doubt, just ask! Butchers are the unsung heroes in this saga. They possess a wealth of knowledge and are usually more than willing to share it. Whether it’s deciphering the grades or picking the right cut, a quick chat with your butcher can turn you from a novice into a savvy shopper.
Seasoning and Preparation
Ah, the age-old debate: To season or not to season? Here’s the scoop: Seasoning is your secret weapon. A simple rub of salt and pepper can elevate your chuck roast from mundane to mouth-watering. But don’t stop there! Feel free to experiment with herbs and spices that tickle your fancy. The key is to season generously and let the flavors marry with the meat before cooking.
Preparing the meat for cooking is just as important as the seasoning. If you’re aiming for a roast that’s the talk of the town, start by letting it reach room temperature. This little trick ensures that your chuck roast cooks evenly, preventing those dreaded dry spots. And remember, a well-prepared roast is the first step to a meal that’s not just food but a masterpiece.
In the grand scheme of things, selecting the right cut and mastering the art of seasoning and preparation are more than just steps in cooking. They’re the foundation of a culinary adventure that transforms a simple chuck roast into a feast for the senses. So, don your apron, wield your seasoning with confidence, and prepare to embark on a journey that promises a dish brimming with flavor and tenderness.
The golden rule for cooking a chuck roast to tender perfection is patience. Typically, a roast should cook for about an hour per pound at a low temperature. However, this can vary based on the method you choose. For oven braising, setting your oven to 325°F (165°C) and cooking for 3 to 4 hours usually does the trick for a 3-pound roast. In a Crock Pot, cooking on low for 8 to 10 hours or on high for 5 to 6 hours is ideal. Remember, the longer and slower you cook, the more tender your roast will be.
Seasoning a chuck roast is like painting on a blank canvas; the possibilities are endless. A classic rub of salt and freshly ground black pepper is timeless, but don’t be afraid to mix things up. Garlic powder, onion powder, thyme, and rosemary can add layers of flavor that make your roast truly unforgettable. For those who enjoy a bit of a kick, a dash of paprika or cayenne pepper can add just the right amount of heat. Ultimately, the best seasonings are the ones that suit your taste buds. So go ahead, experiment, and find your perfect blend!