
Fried ice cream, a paradoxical delight that teases the taste buds with its crispy exterior and cold, creamy heart, stands as a testament to culinary innovation. This article embarks on a journey to unravel the mystery of how fried ice cream is made without turning into a puddle. From the science that keeps it solid to the various techniques and tips for perfecting this dessert, we’ll explore every nook and cranny of this fascinating subject. So, buckle up and prepare to dive deep into the world of fried ice cream, where we’ll transform the seemingly impossible into the absolutely delicious.
Introduction to Fried Ice Cream
What is fried ice cream?
At first glance, fried ice cream sounds like an oxymoron. How can something as cold as ice cream survive the scorching embrace of a fryer? Yet, this dessert has captivated many with its unique combination of textures and temperatures. Originating from a blend of culinary traditions, fried ice cream features a hot, crispy outer shell encasing a still-frozen ice cream core, creating a symphony of contrasts that dance on the palate.
While exploring the intricacies of fried ice cream, it’s essential to also delve into other culinary adventures that challenge our cooking skills and creativity. For instance, mastering the art of making the perfect Chicken Pot Pie Sauce can elevate a classic comfort food to new heights, much like the careful balance required in preparing fried ice cream. Similarly, finding innovative Alternatives to a Mini Cheesecake Pan showcases the adaptability required in the kitchen, a trait also necessary for crafting the perfect fried ice cream.
Brief History and Origin
The origins of fried ice cream are a bit of a toss-up, with both Asian and Mexican cuisines laying claim to its creation. In the grand scheme of things, it doesn’t much matter who fried the first scoop. What’s important is the joy it brings to dessert tables around the globe. It first gained popularity in the United States in the early 1980s, becoming a staple in Mexican restaurants and state fairs, where its exotic appeal could be fully appreciated.
Popularity in Different Cuisines
From the bustling streets of Tokyo to the vibrant fiestas of Mexico, fried ice cream has made its mark worldwide. Each culture adds its own twist, whether it’s the choice of coating, the ice cream flavor, or the accompanying sauces. This versatility has only fueled its popularity, making it a beloved treat for those eager to explore the culinary road less traveled.
In this exploration of fried ice cream, we’ll peel back the layers of this dessert’s crispy exterior, revealing not just the hows but the whys of its preparation. So, as we venture into the science behind it, remember, this is more than just a recipe; it’s an invitation to experiment, to play with fire and ice, and to discover the delicious balance that lies within.
Understanding the Science
How Ice Cream Stays Solid When Fried
Ever wondered how a scoop of ice cream can take a dip in hot oil and come out unfazed? Well, it’s all thanks to a quick science lesson. The secret lies in the coating and the ice cream’s low temperature. Before it hits the fryer, the ice cream is usually frozen to a temperature well below your average freezer setting. This extreme coldness ensures that the ice cream doesn’t melt immediately upon contact with the hot oil. Meanwhile, the coating acts as a thermal barrier, crisping up quickly to form a protective shell around the ice cream. It’s a race against the clock, and speed is of the essence.
The Role of Coating in Preventing Melting
Choosing the right coating is crucial for creating the perfect fried ice cream. Ingredients like cornflakes, breadcrumbs, or even crushed cookies are popular choices. These coatings not only add texture and flavor but also play a vital role in insulating the ice cream. When mixed with a little magic ingredient—usually an egg or a simple batter—they adhere to the ice cream, creating a seal that heat takes a bit longer to penetrate. This delay gives the coating time to turn golden and crispy, all while the ice cream inside remains blissfully cold.
Quick Freezing Techniques
To further ensure that our star performer doesn’t take a melting bow, quick freezing techniques come into play. Once the ice cream balls are formed and coated, they’re sent back to the freezer to chill even further. This step is not just a precaution; it’s a necessity. By lowering the temperature of the ice cream to the brink of becoming a solid block of ice, we buy ourselves precious frying time. This process, often involving a stint in a freezer set to sub-zero temperatures, ensures that the ice cream can withstand the heat, if only for a brief moment, without turning into a creamy puddle.
In the dance of fire and ice that is fried ice cream, understanding the science behind it is like learning the steps to a complex ballet. Each move, from the choice of coating to the freezing technique, must be executed with precision. But fear not, for with this knowledge in hand, you’re well on your way to mastering the art of making fried ice cream that’s crispy on the outside and perfectly cold on the inside. So, let’s keep the heat at bay a little longer as we dive into the ingredients and tools you’ll need to bring this culinary wonder to life.
Ingredients and Tools
Ingredients for Making Fried Ice Cream
Diving into the world of fried ice cream, the choice of ingredients plays a pivotal role in the dessert’s success. The star of the show, the ice cream, should be rich and creamy. Opt for flavors that stand up well to frying, like vanilla, chocolate, or even something more adventurous like mango or coconut. The key is to ensure the ice cream is dense enough to maintain its shape during the frying process.
When it comes to coating, creativity is your best friend. Cornflakes offer a classic crunch, while breadcrumbs can provide a finer texture. For those looking to break the mold, crushed cookies or nuts add a unique twist. The coating not only adds texture but also acts as the crucial barrier that keeps the ice cream from melting too quickly.
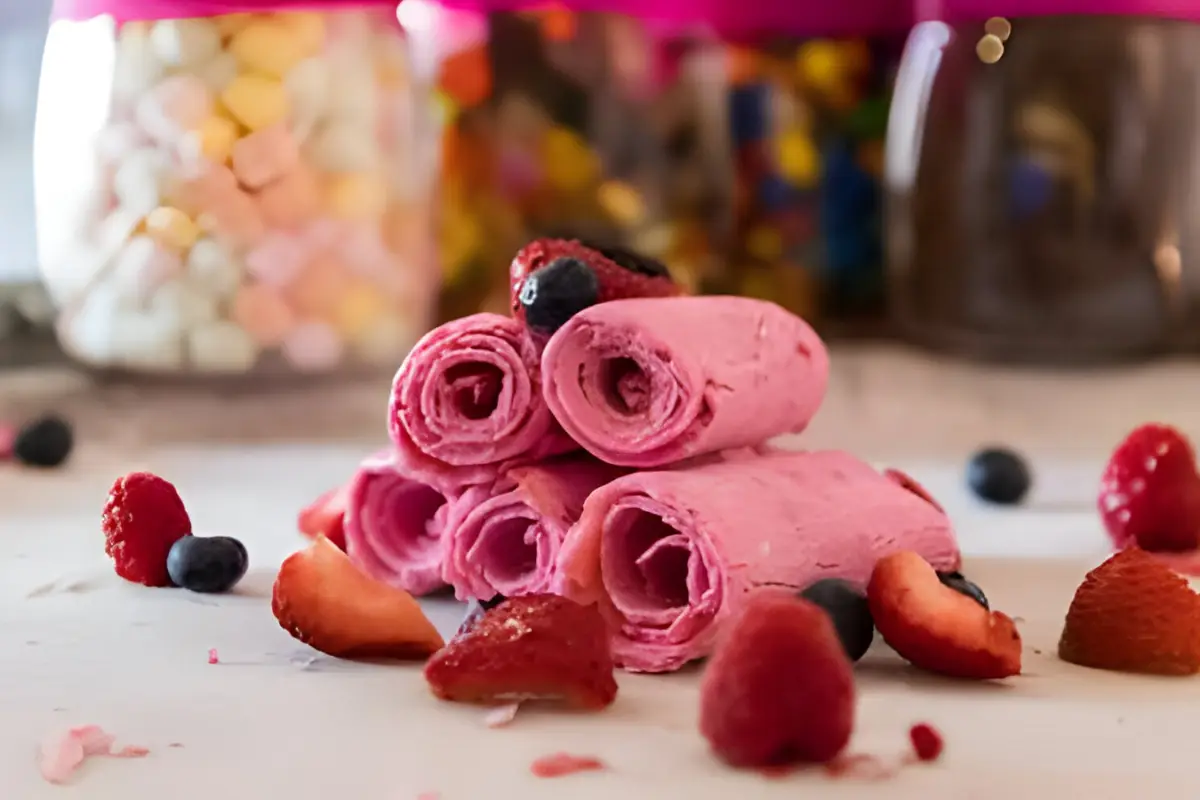
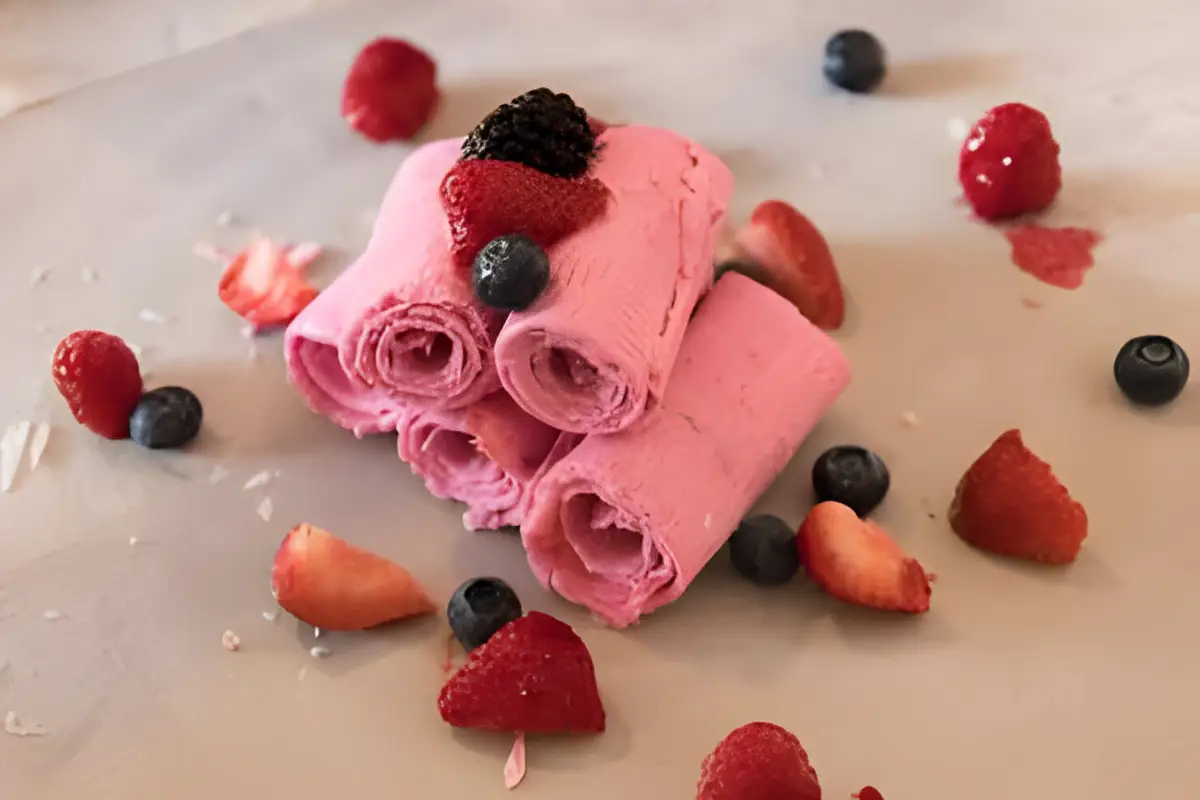
No fried ice cream is complete without the crowning glory of optional toppings. Drizzles of chocolate sauce, caramel, or a dollop of whipped cream not only enhance the visual appeal but also add layers of flavor. A cherry on top? Why not! These finishing touches transform the dessert from good to unforgettable.
Tools and Equipment Needed
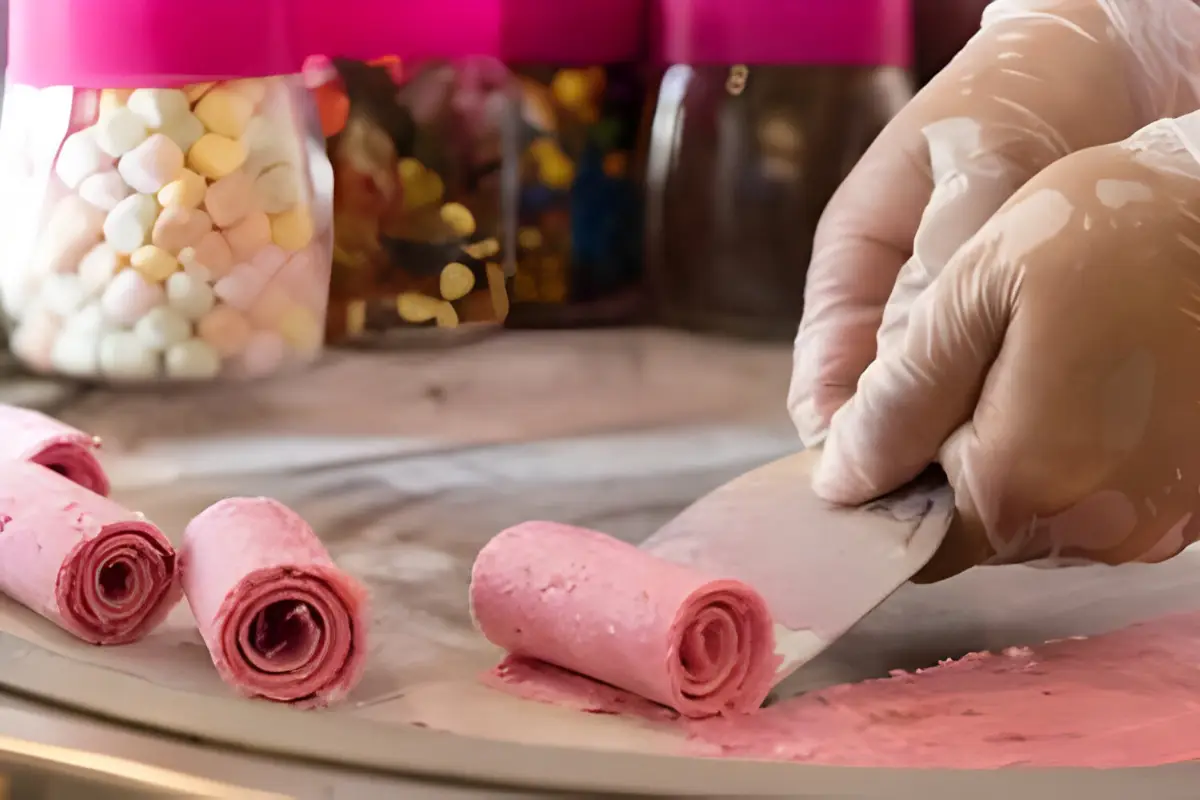
The right tools can turn the daunting task of making fried ice cream into a piece of cake. First up, you’ll need a scoop to form uniform ice cream balls. A baking sheet lined with parchment paper is essential for freezing the scoops. For the coating process, a shallow dish works best for rolling the ice cream balls in your chosen crumbs or flakes.
A skillet or saucepan is necessary for frying the coating, but remember, we’re not immersing the ice cream in oil. Instead, we’re pre-frying the coating or using a quick-sear method for the ice cream balls. Lastly, don’t forget the freezer space. Fried ice cream demands a cold, cold heart, so ample freezer space is non-negotiable. The colder, the better, as it gives your dessert the fighting chance it needs against the heat.
Armed with the right ingredients and tools, making fried ice cream at home becomes an exciting adventure rather than a daunting task. Each element, from the creamy core to the crispy coating, plays its part in creating this delightful contradiction of a dessert. So, gather your tools, choose your ingredients, and prepare to make culinary magic.
Ingredients:
- Ice Cream Balls:
- 1 quart of your favorite ice cream (vanilla, chocolate, strawberry, etc.)
- Coating:
- 2 cups cornflakes, crushed
- 1 teaspoon ground cinnamon
- 1/2 cup sugar
- Batter:
- 1 egg
- 1 tablespoon milk
- For Frying:
- Vegetable oil for deep-frying
- Toppings (optional):
- Chocolate syrup, honey, or caramel sauce
- Whipped cream
- Fresh fruits or berries
- Sprinkles or nuts
Method:
- Prepare ice cream balls.
- Scoop the ice cream into 8 large balls. Place them on a baking sheet lined with parchment paper. Freeze until solid, at least 2 hours or overnight.
- Mix Coating:
- In a shallow bowl, mix the crushed cornflakes, cinnamon, and sugar.
- Prepare Batter:
- In another bowl, whisk together the egg and milk.
- Coat Ice Cream:
- Once the ice cream balls are frozen solid, roll each ball in the batter, then immediately roll them in the cornflake mixture until well coated. Return the coated ice cream balls to the freezer for at least 1 hour to set.
- Heat Oil:
- Heat vegetable oil in a deep fryer or large saucepan to 375°F (190°C).
- Fry Ice Cream:
- Working with one ice cream ball at a time, carefully lower it into the hot oil. Fry for about 15-20 seconds or until golden brown. Remove with a slotted spoon and drain on paper towels. Repeat with the remaining ice cream balls. Serve immediately.
- Serve:
- Drizzle your fried ice cream with your choice of topping (chocolate syrup, honey, or caramel sauce). Add a dollop of whipped cream, some fresh fruits or berries, and sprinkles or nuts if desired.
Tips:
- Make sure the ice cream balls are frozen solid before coating and frying to prevent them from melting too quickly.
- You can double coat the ice cream balls by repeating the batter and cornflake steps for an extra crispy shell.
- Serve the fried ice cream immediately after frying for the best texture contrast between the hot crust and the cold ice cream.
Step-by-Step Guide
Preparing the Ice Cream
The journey to perfect fried ice cream starts with selecting and preparing the ice cream balls. Opt for dense, creamy flavors that can stand up to the heat. Vanilla, with its classic profile, makes a great base, but don’t shy away from bolder choices like salted caramel or strawberry. Scoop the ice cream into large balls and place them on a baking sheet lined with parchment paper. This is where the freezing techniques come into play. To ensure firmness, the ice cream balls need to go back into the freezer. And not just any freezer setting will do; we’re talking about turning it down to its coldest setting. The goal is to get the ice cream as hard as possible, which might mean leaving it to freeze overnight.
Coating Process
Now, let’s talk about the coating. This is where things get crunchy. Take your choice of coating—cornflakes, breadcrumbs, or even crushed cookies—and mix them with a pinch of magic. A dash of cinnamon or cocoa powder can elevate the flavor profile. Place the mixture in a shallow dish for easy rolling. Once your ice cream balls are frozen solid, it’s time to roll them in the coating. Ensure each ball is evenly covered, pressing the mixture gently into the ice cream to adhere. Then, back into the freezer, they go to set up the coating and firm up once more.
Frying Without Melting
The final act is the fry, or rather, how to fry without actually melting. Here’s where we get a bit crafty. Instead of deep-frying, consider a quick sear in a hot skillet or using a blowtorch for a brûlée effect. These methods provide the heat needed to crisp the coating without turning the inside into soup. If you’re set on a more traditional fry, keep it brief. A few seconds on each side in hot oil is all it takes. Remember, the goal is to bake the coating to crispy perfection, not cook the center.
By mastering these steps, from the initial freeze to the final fry, you’re not just making dessert. You’re crafting an experience—a delightful contrast of hot and cold, crispy and creamy—that dances across the taste buds. So, take these tips, wield them wisely, and prepare to dazzle with your fried ice cream creations.
Variations and Tips
Variations of Fried Ice Cream
Fried ice cream is a canvas for creativity, allowing for endless variations in flavors and coatings. Beyond the classic vanilla, consider diving into the rich world of ice cream flavors like matcha for a Japanese twist or dulce de leche for a nod to its Latin American fans. When it comes to coatings, the sky’s the limit. Swap out traditional cornflakes for crushed pistachios or almond flakes for a nutty crunch, or go for a sweet and salty combo with pretzel bits.
For those with dietary restrictions, fear not. Vegan and gluten-free options abound. Coconut or almond milk-based ice creams work wonderfully, and gluten-free cereals or panko can serve as excellent coatings. These alternatives ensure everyone can enjoy the magic of fried ice cream, regardless of dietary needs.
Expert Tips for Perfect Fried Ice Cream
Achieving the perfect fried ice cream is an art, but with a few expert tips, you’re sure to impress. First, the key to preventing meltdown is freezing. Make sure your ice cream is frozen solid—think rock-hard. This might mean preparing your scoops a day in advance. When it comes to coating, double-dipping is your friend. A second layer of coating ensures a better barrier against the heat, keeping the ice cream cold and firm.
Serving fried ice cream is all about timing and presentation. Serve it immediately after frying to capture that delightful contrast of hot and cold. For maximum impact, drizzle with warm chocolate or caramel sauce, which will slightly melt the outer layer, creating an irresistible texture contrast. A sprinkle of edible flowers or a dusting of powdered sugar can add a touch of elegance, turning a simple dessert into a showstopper.
With these variations and tips in hand, you’re well-equipped to explore the delightful world of fried ice cream. Experiment with different combinations, and don’t be afraid to put your twist on this classic dessert. The possibilities are endless, and the results are always deliciously rewarding.
FAQs
Can I use a different flavor of ice cream?
Absolutely! The beauty of fried ice cream lies in its versatility. While vanilla is a classic choice, don’t hesitate to experiment with different ice cream flavors. Chocolate, strawberry, coffee, and even more exotic flavors like green tea or mango can add an exciting twist to your dessert. The key is to choose flavors that complement your chosen coating and toppings. Just remember, the denser the ice cream, the better it will hold up during the frying process.
How Can I Make Fried Ice Cream in Advance?
Making fried ice cream in advance is a great way to save time and reduce stress, especially if you’re preparing for a gathering. After forming and coating your ice cream balls, place them back in the freezer on a baking sheet lined with parchment paper. Ensure they’re well spaced so they don’t stick together. Once fully frozen, transfer them to airtight containers or freezer bags. They can be stored like this for up to two weeks. When you’re ready to serve, simply fry or torch them according to your preferred method. This make-ahead approach ensures you have a stunning dessert ready to go with minimal last-minute effort.
What are some common mistakes to avoid?
One common mistake is not freezing the ice cream long enough before coating and frying. The ice cream should be as hard as possible to withstand the heat without melting. Another pitfall is using a coating that’s too thick or not pressing it firmly enough onto the ice cream, which can result in a loose shell that doesn’t provide adequate insulation. Additionally, frying the ice cream for too long can cause the interior to melt before the exterior has crisped up. Aim for a quick fry, just enough to crisp the coating. Lastly, avoid letting the fried ice cream sit out for too long before serving. It’s best enjoyed immediately after frying to experience the perfect contrast of hot and cold.
Conclusion
In the culinary world, where creativity knows no bounds, fried ice cream stands out as a testament to the magic that happens when opposites attract. This delightful dessert, with its hot, crispy exterior and cold, creamy heart, challenges the norms and invites us to explore the delicious possibilities that lie at the intersection of heat and cold.
Journey Through Fried Ice Cream
Through this guide, we’ve journeyed from the basics of what makes fried ice cream so unique, delved into the science that keeps it from melting, explored the myriad of ingredients and tools needed, and provided a step-by-step guide to crafting your perfect version. We’ve also ventured into the realm of variations and expert tips to elevate your dessert game and answered some frequently asked questions to help you navigate common pitfalls.
The Culinary Adventure
Fried ice cream is more than just a dessert; it’s a culinary adventure that encourages experimentation and innovation. Whether you’re a seasoned chef or a curious home cook, the creation of fried ice cream offers a chance to play with flavors, textures, and techniques. By embracing the tips and tricks outlined in this guide, you’re well-equipped to create a dessert that not only impresses but also delights and surprises with every bite.
Embrace Experimentation
As you embark on your fried ice cream-making journey, remember that the key to success lies in the balance of temperatures and textures. Don’t be afraid to experiment with different ice cream flavors, coatings, and toppings. Each variation brings its own unique twist to the table, making every batch of fried ice cream a new discovery.
Conclusion
In conclusion, fried ice cream embodies the joy of culinary exploration and the pleasure of sharing something truly special with friends and family. So, gather your ingredients, unleash your creativity, and prepare to dazzle with this extraordinary dessert that defies the odds and delights the senses. Happy frying!