
In the world of baking, mini cheesecakes are like the delightful little secrets everyone wants to master. They’re the perfect bite-sized treats that pack all the creamy, rich flavor of their full-sized counterparts into a tiny, party-perfect form. But, as with any culinary endeavor, the devil is in the details—or, in this case, in knowing exactly when these miniature delights are perfectly baked. This article will guide you through the ins and outs of baking mini cheesecakes, from understanding sizes and adjustments to mastering the art of knowing when they’re just right. So, let’s get started and unlock the secrets to baking perfection!
Introduction to Baking Mini Cheesecakes
The Joy of Mini Cheesecakes
Ah, mini cheesecakes! Aren’t they just the cutest? These little bundles of joy have become a favorite at gatherings, offering a personal touch that says, “I made this just for you.” But before we dive into the nitty-gritty of baking these tiny treats, let’s take a moment to appreciate the art of mini cheesecake making.
First off, the beauty of mini cheesecakes lies in their versatility. Whether you’re a fan of classic New York style, a sucker for rich chocolate, or someone who likes to experiment with flavors like pumpkin or lemon, mini cheesecakes are the perfect canvas for your culinary creativity. Plus, they’re just so darn adorable!
To enhance your mini cheesecake journey, consider exploring other culinary adventures, such as mastering the perfect chicken pot pie sauce or discovering the versatility of mini cheesecake pan alternatives. Each of these guides offers insights and tips that can elevate your baking and cooking experience, providing you with the skills to impress at your next gathering or simply enjoy a delicious treat at home.
Now, you might be thinking, “Sure, they’re cute and all, but aren’t they tricky to bake?” Well, yes and no. Like any good thing in life, it does require a bit of finesse and a sprinkle of patience. But fear not! Once you get the hang of it, you’ll be whipping up these little beauties with ease.
One of the key aspects of mini cheesecake success is knowing how to adjust your recipe for different pan sizes. It’s not just about reducing the ingredients proportionally; it’s about understanding how smaller or larger volumes affect baking times and texture. But, before we get too ahead of ourselves, let’s start with the basics: the joy of baking mini cheesecakes is all about embracing the challenge and reveling in the delicious rewards. So, tie on your apron, preheat your oven, and let’s embark on this mini cheesecake adventure together!
Understanding Cheesecake Sizes
Standard Cheesecake Sizes
When you step into the world of cheesecakes, you’ll quickly realize that size does matter. The most common size, the one often seen at festive gatherings and sitting proudly in bakery display cases, is the 9-inch cheesecake. This size serves as the gold standard, offering a generous amount of creamy goodness to satisfy a crowd. But, as we venture into the realm of mini cheesecakes, we encounter a delightful variety of sizes, from the slightly smaller 7-inch versions to the adorable 4-inch personal cheesecakes, and let’s not forget the bite-sized wonders made in muffin tins. Each size offers a unique experience, from the thickness of the crust to the ratio of filling to crust, making every bite a new adventure.
Adjusting Recipes for Different Sizes
Adjusting recipes for different cheesecake sizes is more art than science. It’s not as simple as halving ingredients for a 9-inch cheesecake to fit a mini 4-inch pan. You must consider the pan’s depth and volume and how these affect baking time and the cheesecake’s texture. Smaller cheesecakes bake faster, which means they require closer attention to avoid overbaking. Precision in measuring ingredients like cream cheese or eggs is crucial to avoid mishaps. However, with practice and patience, you’ll master the art of recipe adjustment, making your mini cheesecakes as delightful as the full-sized versions.
Ingredients for Mini Cheesecakes
Crust Ingredients
Diving into the crust, the foundation of any great cheesecake, we focus on simplicity and flavor. For mini cheesecakes, you’ll need about 1 cup of graham cracker crumbs, which you can achieve by pulsing graham crackers in a food processor until finely ground. Mix this with 3 tablespoons of melted butter and a tablespoon of sugar to create a mixture that, when pressed between your fingers, holds together. This is your ticket to a crust that’s both crisp and buttery, providing the perfect base for your creamy filling. Remember, the crust isn’t just a layer at the bottom; it’s the stage that sets the scene for what’s to come.
Filling Ingredients
For the filling, the star of the show, begin with 16 ounces of softened cream cheese to ensure smoothness. Beat this with 2/3 cup of sugar to add sweetness and a hint of structure. Next, incorporate a tablespoon of all-purpose flour to help stabilize the filling, ensuring it sets just right. Blend in 2/3 cup of sour cream for a velvety texture, a tablespoon of vanilla extract for that classic cheesecake flavor, and finally, add two large eggs, one at a time, mixing just until combined after each addition. This careful combination creates a filling that’s rich, creamy, and utterly irresistible, with a smooth consistency that bakes to perfection in your mini cheesecake pans.
Baking Mini Cheesecakes
Preparing Your Pan
Before you even think about mixing ingredients, getting your pan ready is crucial. For mini cheesecakes, a muffin tin works wonders, but don’t forget the liners! These little parchment or silicone cups are lifesavers, making it a breeze to remove the cheesecakes once they’re done. If you’re using a mini cheesecake pan with removable bottoms, a light grease helps. This step ensures your mini creations will pop out effortlessly, looking as good as they taste. It’s all about setting the stage for success right from the get-go.
Mixing and Filling
Now, let’s get mixing! Start with your crust mixture, pressing it firmly into the bottom of each cup. Then, whip up your filling until it’s smooth and creamy, being careful not to overmix—air bubbles are not the guest you want at this party. Gently spoon or pipe the filling over the crust, filling each cup just below the rim. This precision ensures each mini cheesecake has the perfect ratio of crust to filling, making every bite a dream.
Baking Time Adjustments
Baking mini cheesecakes is where the real magic happens, but it’s also where you need to be most vigilant. Unlike their larger counterparts, mini cheesecakes bake much faster, often in half the time. Start checking for doneness around the 15-minute mark. Look for a set perimeter with a slightly wobbly center—a sign they’re just about perfect. Remember, they’ll continue to set as they cool, so pulling them out at the right moment is key. This delicate balance ensures your mini cheesecakes are cooked to perfection, with a texture that’s smooth, creamy, and just right.
Knowing When They’re Done
The Jiggle Test
The jiggle test is a baker’s best friend when it comes to cheesecakes. After baking, gently shake the pan. If the outer part is set but the center slightly jiggles, you’ve hit the jackpot. This slight jiggle means the cheesecake will set perfectly as it cools, ensuring a creamy texture throughout. It’s a simple yet effective way to check doneness without poking or prodding your masterpiece.
Temperature Testing
For those who love precision, temperature testing is your go-to method. Insert a digital thermometer halfway into the center of a cheesecake. A perfect mini cheesecake shows a reading of 150°F (65°C). This method takes the guesswork out of baking, providing a clear sign of when to remove your cheesecakes from the oven.
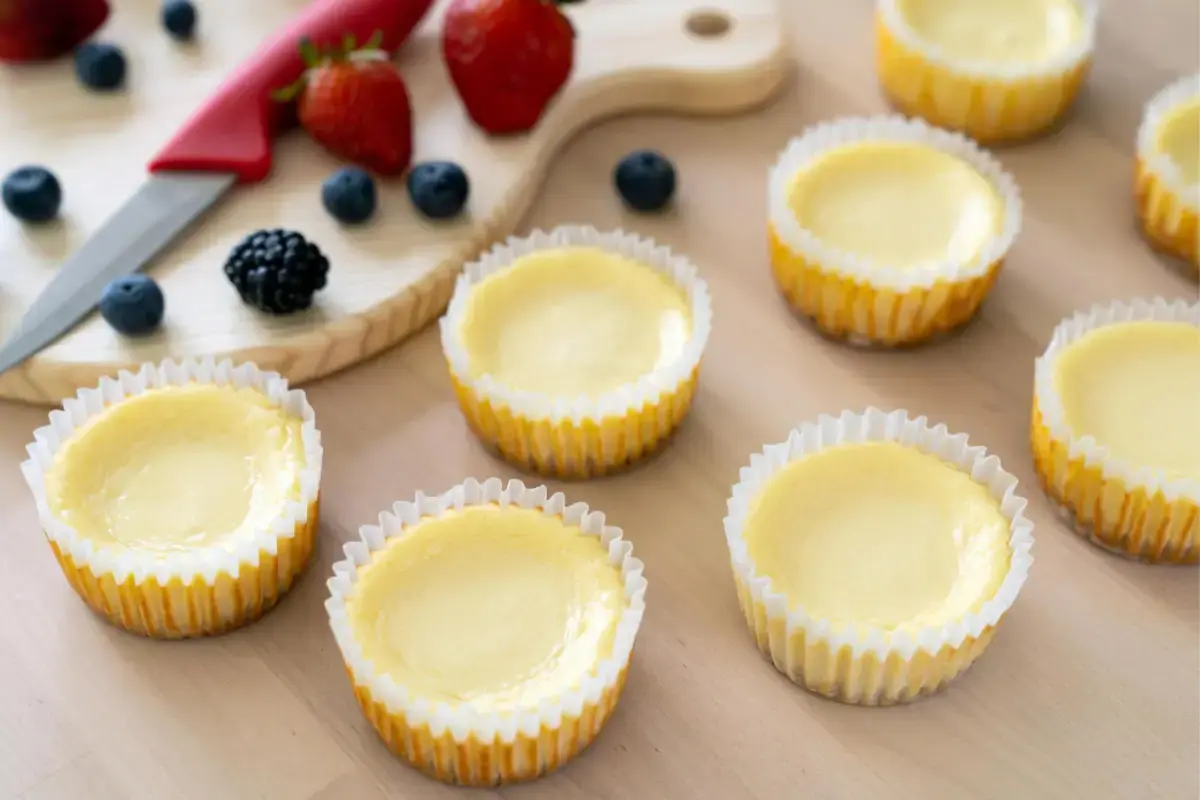
Visual Cues
Visual cues are invaluable in the kitchen. Look for edges that have set and a top that’s no longer glossy. This matte finish indicates the cheesecake is cooked through but still retains its moisture. Another clue is a slight pulling away from the edges of the pan. These visual signs, combined with the jiggle test or temperature check, will guide you to perfect mini cheesecakes every time.
Cooling and Serving Mini Cheesecakes
Cooling Process
After your mini cheesecakes have reached their peak in the oven, the next crucial step is cooling them properly. Start by letting them cool in the pan on a wire rack for about an hour. This gradual cooling helps prevent the tops from cracking, a common cheesecake woe. Once they’ve reached room temperature, transfer them to the refrigerator. Chill them for at least four hours, but overnight is best. This not only ensures they’re fully set but also enhances their flavor. Patience in the cooling process pays off, making your mini cheesecakes the perfect blend of creamy and firm.
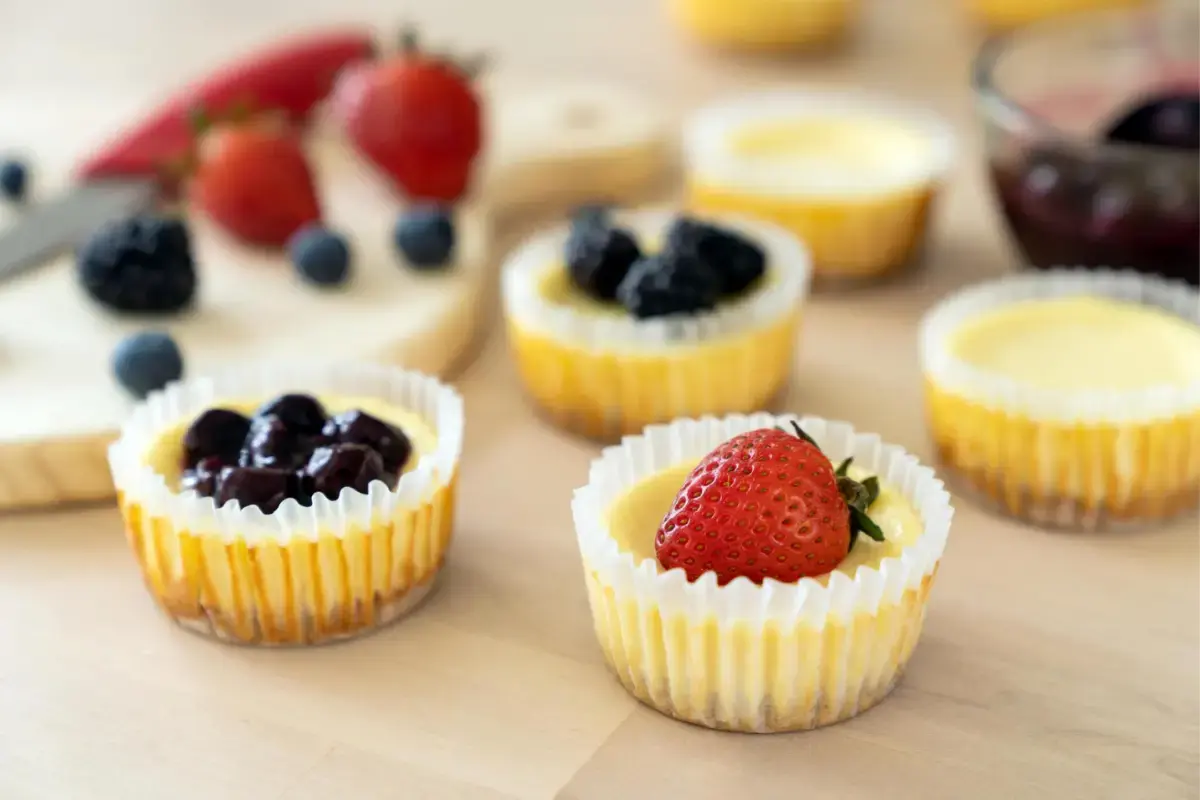
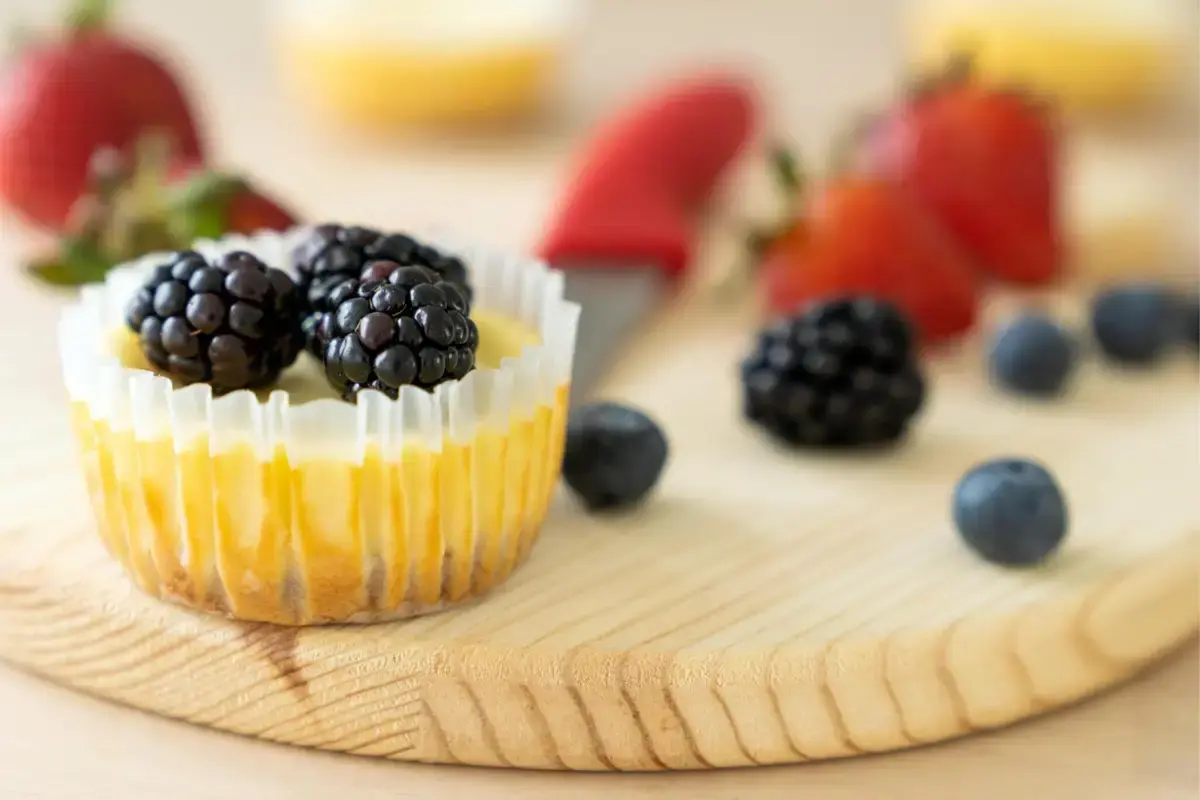
Serving Suggestions
When it’s finally time to serve your mini cheesecakes, the possibilities for topping and presentation are endless. A dollop of whipped cream, a sprinkle of fresh berries, or a drizzle of caramel or chocolate sauce can elevate your mini cheesecakes from delightful to divine. For a festive touch, match your toppings to the season—think peppermint pieces in winter or fresh peach slices in summer. Remember, the key to a memorable presentation is in the details. A mint leaf, a dusting of powdered sugar, or even a small edible flower can add that final touch of elegance, making your mini cheesecakes not just a treat for the palate but a feast for the eyes.
Frequently Asked Questions
Can I use a muffin tin for mini cheesecakes?
Absolutely! A muffin tin is a fantastic alternative for baking mini cheesecakes, especially if you don’t have a specialized mini cheesecake pan. Just line the tin with paper or silicone cupcake liners for easy removal. The key is to adjust the baking time since muffin tins might bake the cheesecakes slightly faster than a mini cheesecake pan would. Keep an eye on them and perform the jiggle test to ensure they’re perfectly done.
How do I prevent cracks in my mini cheesecakes?
Cracks in cheesecakes, mini or otherwise, often result from overbaking or sudden temperature changes. To prevent this, avoid overmixing the batter, as incorporating too much air can lead to cracks. Bake your mini cheesecakes in a water bath to ensure even, gentle cooking. Finally, let them cool gradually in the oven with the door slightly ajar before moving them to a wire rack. This slow cooling process helps prevent the dreaded cracks.
Can mini cheesecakes be frozen?
Yes, mini cheesecakes freeze beautifully! Once they’ve cooled completely and chilled in the refrigerator, place them on a baking sheet to freeze individually. After they’re solid, wrap each cheesecake tightly in plastic wrap and then aluminum foil. They can be stored in the freezer for up to a month. To serve, thaw them in the refrigerator overnight. This method preserves their texture and flavor, making them a convenient, make-ahead dessert option.
Incorporating External Links
In crafting an informative and engaging article on mini cheesecakes, incorporating external links not only enhances its credibility but also provides readers with additional resources for exploration. Here are three recommended external links with suggested anchor texts that align with the content and are not direct competitors:
- For those looking to dive deeper into the science behind baking and how it affects your mini cheesecakes, The Science of Baking Cheesecakes offers a comprehensive look into the chemical reactions that make your desserts delicious.
- If you’re eager to elevate your mini cheesecakes with creative and eye-catching decorations, Cheesecake Decorating Tips by Wilton provides a treasure trove of ideas and techniques to make your desserts stand out.
- Curious about the origins of cheesecake and how it became a beloved dessert worldwide? History of Cheesecakes on History.com traces the fascinating journey of cheesecake from ancient times to modern-day favorites.
Including these links with the recommended anchor texts in your article will not only enrich your content but also offer your readers valuable resources to enhance their baking journey.
Conclusion
Final Thoughts on Mini Cheesecake Baking
As we come to the end of our mini cheesecake journey, it’s clear that these tiny treats hold a special place in the hearts of dessert lovers. From selecting the right ingredients to mastering the bake and nailing the cooling process, each step is a testament to the art and science of baking. Mini cheesecakes not only offer a personal touch that makes gatherings more memorable but also allow for creativity in flavors and presentations.
Remember, the key to perfect mini cheesecakes lies in the details—understanding your oven, knowing when they’re just right, and allowing them to cool properly. And while challenges may arise, like cracks or uneven baking, each batch is an opportunity to learn and improve.
So, whether you’re a seasoned baker or new to the kitchen, embrace the process and enjoy the delicious rewards. Mini cheesecakes are more than just a dessert; they’re a celebration of the joy of baking, sharing, and indulging in the little things that make life sweet. Happy baking!