The Ultimate Guide to Making Perfect Cake Pops

In the whimsical world of desserts, one tiny treat stands out not just for its size but for the burst of joy it brings with each bite. Yes, we’re talking about the ever-popular cake pop, a delightful concoction that combines the richness of cake with the convenience of a lollipop. This article embarks on a sweet journey, unraveling the mysteries of what makes a cake pop truly special, from its humble beginnings to the dazzling array of variations it has inspired. Whether you’re a seasoned baker or a curious newbie, get ready to dive into the art and science of making these adorable treats, learning tips and tricks along the way to ensure your cake pops are nothing short of perfect. So, grab your apron, and let’s get popping!

Introduction to Cake Pops

Cake pops, the petite treats that have taken the dessert world by storm, are much more than just cake on a stick. They’re a fusion of flavor, fun, and creativity, all rolled into one. But before we delve into the nitty-gritty of making these delightful bites, let’s take a moment to appreciate their journey from a simple idea to a global sensation.

The Simple Genius Behind Cake Pops

The concept of cake pops is brilliantly straightforward: take cake crumbs, mix them with frosting, shape them into balls, dip them in a candy or chocolate coating, and voilà! You’ve got yourself a cake pop. This ingenious method not only gives new life to leftover cake but also opens up a universe of flavor and decoration possibilities. For those interested in exploring more about creative dessert ideas, our guide on elevating your brownie mix offers insights into transforming simple mixes into gourmet treats, a principle that aligns well with the innovative spirit of cake pop making.

Crafting the Perfect Cake Pop

As we embark on this journey together, we’ll explore the essential components that make up a cake pop, delve into the step-by-step process of creating these bite-sized delights, and share advanced tips and tricks to perfect your craft. From choosing the right cake base and mastering the art of frosting to achieving the perfect candy coating, this guide will cover everything you need to know to make irresistible cake pops. Additionally, for those who love experimenting with flavors, our article on mastering chocolate mousse can provide you with additional inspiration for incorporating rich, chocolatey goodness into your cake pops.

Brief History and Popularity

The cake pop’s journey began with a sprinkle of innovation and a dash of creativity. It was popularized by baker Angie Dudley, also known as Bakerella, in the late 2000s. Her simple yet revolutionary idea of combining cake crumbs with icing to form bite-sized balls coated in chocolate captured the hearts (and taste buds) of millions worldwide. Since then, cake pops have become a staple at parties, weddings, and cafes, especially beloved for their versatility and the personalized touch they can bring to any celebration.

Overview of the Article

Throughout this article, we’ll explore every facet of the cake pop, from the basic ingredients and tools you’ll need to the step-by-step process of creating these treats. We’ll also share advanced tips for ensuring your cake pops are flawless, dive into creative variations to inspire your next baking project, and tackle some frequently asked questions to help you perfect your cake pop craft.

So, whether you’re aiming to recreate the classic Starbucks vanilla birthday cake pop, venture into the realm of red velvet, or experiment with no-bake Oreo cake pops, this guide will equip you with the knowledge and skills to become a master at cake pop making. Let’s embark on this deliciously fun adventure together, shall we?

The Basics of Cake Pops

What are cake pops made of?

Diving into the world of cake pops, we find three pillars: the cake base, the frosting that binds, and the dazzling coatings and decorations. Each plays a crucial role in creating the perfect bite-sized delight.

Cake Base

The journey begins with the cake itself. Whether you opt for a boxed mix for its ease and reliability or go the extra mile with a homemade cake, the flavor you choose sets the tone. Chocolate, vanilla, and red velvet are popular choices, each offering a unique taste experience.

Frosting and Binding Agents

Frosting is the next key ingredient. It acts as the glue that holds the cake crumbs together. Vanilla frosting is a favorite for its versatility, but the amount used is critical. Too little, and the pops may fall apart; too much, and they could end up too moist.

Coatings and Decorations

Finally, we reach the coatings and decorations. This stage is where creativity shines. Candy melts are preferred for their smooth texture and variety of colors. They not only add sweetness but also seal the pops, keeping them moist. Decorations like sprinkles or themed toppers turn these treats into eye-catching masterpieces.

In summary, cake pops combine the foundational flavors of the cake base with the cohesive power of frosting and the visual appeal of coatings and decorations. This blend of elements allows for endless creativity in crafting these delightful treats.

Making Cake Pops: A Step-by-Step Guide

Supplies Needed

Before diving into the baking, let’s gear up with the right supplies. You’ll need a cake mix (or ingredients for a homemade cake), frosting, candy melts for coating, and cake pop sticks. Don’t forget a baking pan for the cake, a bowl for mixing, and a microwave-safe container for melting the candy. A styrofoam block or cake pop stand will also come in handy for letting your pops dry.

Baking the Cake

Choosing the Right Cake Mix

Opt for a cake mix that complements your desired flavor profile. Whether it’s rich chocolate, classic vanilla, or something more adventurous, the right base is crucial.

Tips for a Perfect Bake

Follow the mix instructions closely, but keep an eye on the baking time. A slightly underbaked cake is easier to mold. Let it cool completely before moving on to the next step.

Creating the Cake Ball

Crumbling the Cake

Once cooled, crumble the cake into fine pieces. This ensures a smooth texture for your pops.

Mixing with Frosting

Add frosting gradually. You’re aiming for a moist mixture that can hold its shape, not too wet.

Shaping the Balls

Use your hands or a scoop to form uniform balls. Chill them briefly to firm up before adding sticks.

Decorating and Coating

Melting Candy Melts

Microwave candy melts in short bursts, stirring frequently. Achieve a smooth, dip-able consistency without overheating.

Dipping and Decorating Techniques

Dip the tip of your cake pop stick into the melts before inserting it into the ball for stability. Then, dip the pop into the candy, letting the excess drip off. Add sprinkles or decorations while the coating is still wet. Place them in a stand to dry, showcasing your beautiful, tasty creations.

This step-by-step guide demystifies the process, making it easy and fun to create cake pops that look as good as they taste.

Advanced Tips and Tricks

Ensuring Cake Pop Stability

Keeping cake balls on the stick is crucial for both aesthetics and ease of eating. The secret? Dip the stick in melted candy before inserting it into the cake ball. This acts like glue. But there’s more to it. The consistency of your cake mixture plays a vital role. It should be moist enough to stick together without crumbling. If it’s too dry, the balls might fall off the stick. Conversely, if it’s too wet, they might slide off. Finding that sweet spot is key.

Troubleshooting Common Issues

Preventing Cracks

Cracks in the candy shell are a common headache. They often occur due to temperature differences. To avoid this, let your chilled cake balls sit at room temperature for a few minutes before dipping them into the melted candy. This small step can make a big difference, ensuring a smooth finish.

Fixing Too-Thick Coatings

Sometimes, the candy coating can be too thick, making it difficult to achieve a smooth, even layer. If you find yourself in this sticky situation, don’t fret. A little bit of vegetable oil or shortening mixed into the melted candy can thin it out. Start with a small amount, adding more as needed until you reach the perfect consistency for dipping. This trick will help you coat your cake pops more easily, resulting in a professional-looking finish.

Armed with these advanced tips and tricks, you’ll be well-equipped to tackle some of the most common cake-pop challenges. With a bit of practice and patience, you’ll be creating flawless cake pops that are as stable as they are delicious.

Variations and Creative Ideas

Flavor Variations

When it comes to cake pops, the flavor possibilities are endless, blending classic tastes with innovative twists. Start with traditional favorites like chocolate, vanilla, and red velvet. Then, venture into more adventurous territory with lemon blueberry, salted caramel, or even pumpkin spice for a seasonal treat. Mixing and matching cake and frosting flavors can lead to delightful surprises. Imagine a strawberry cake mixed with cream cheese frosting or a chocolate cake with peanut butter frosting. Each combination offers a unique taste experience, ensuring there’s a cake pop for every palate.
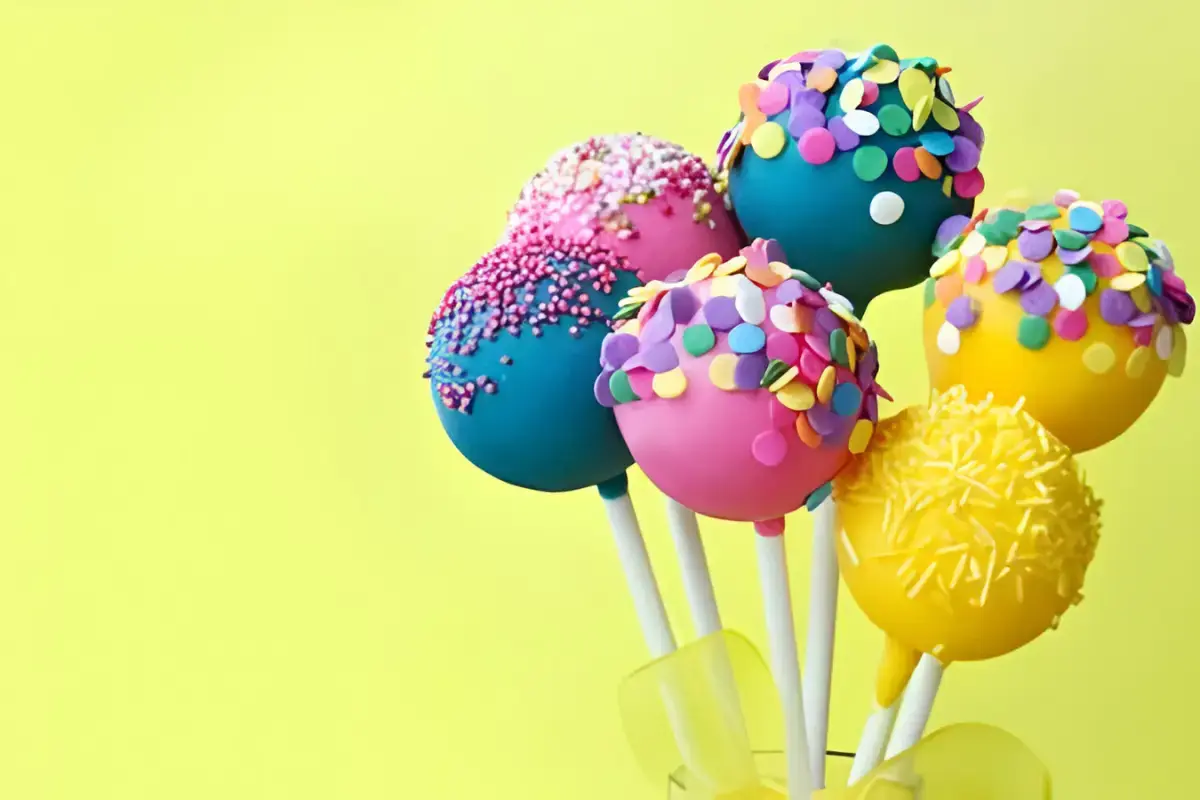
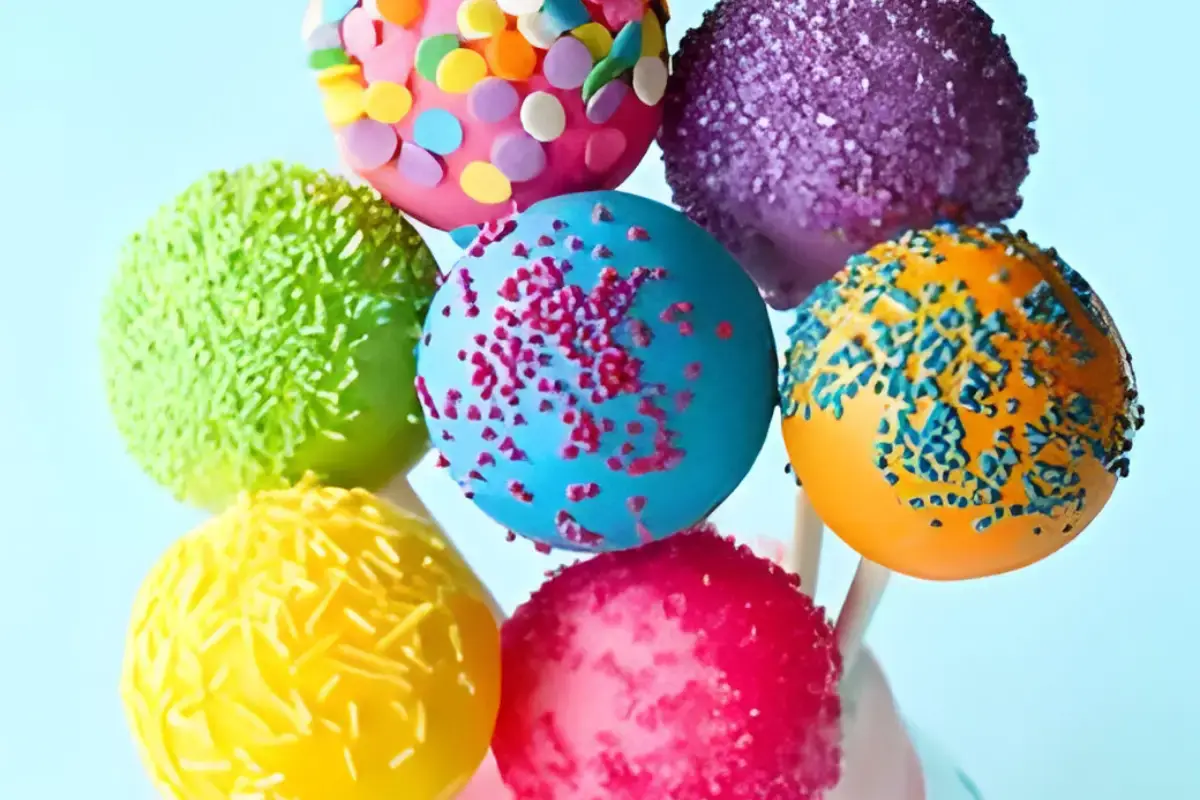
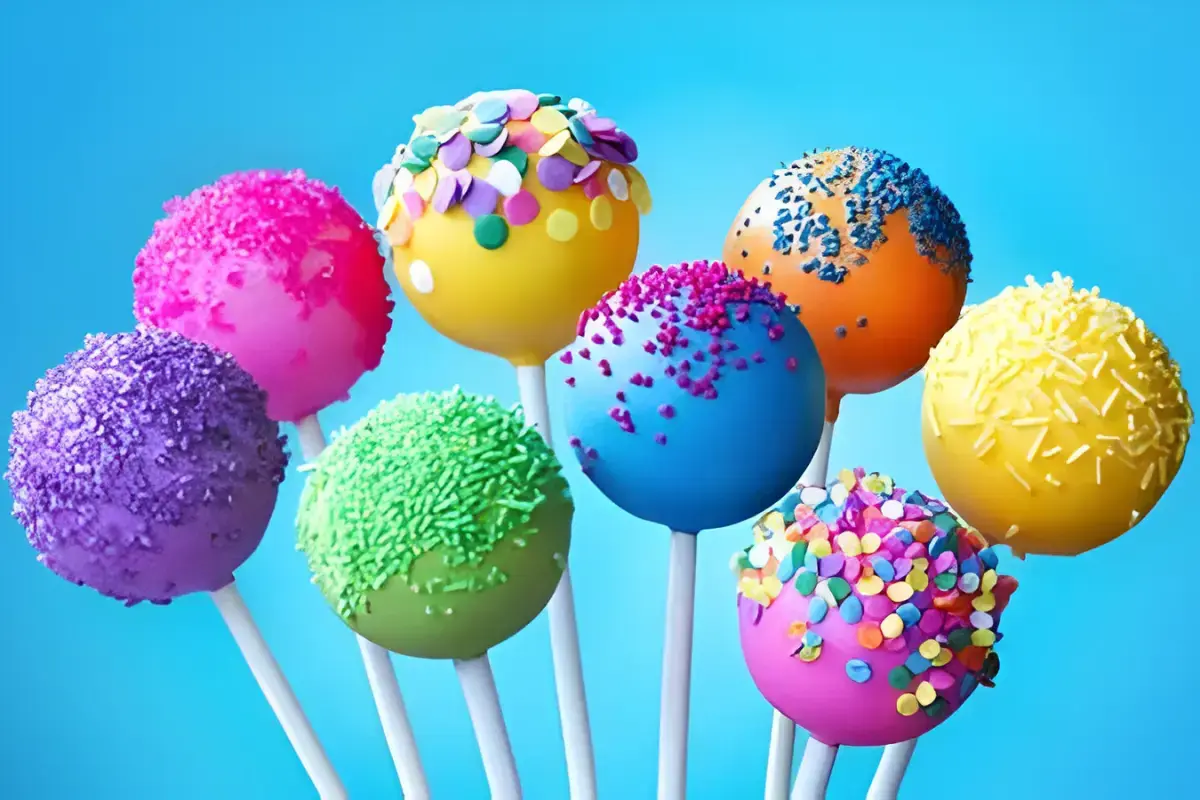
Decorative Ideas

Cake pops are the perfect canvas for creativity, especially when decorating for themes and special occasions. For birthdays, sprinkle them with colorful confetti or match them to the party’s color scheme. Holidays call for themed decorations: think spooky faces for Halloween, red and green sprinkles for Christmas, or pastel colors for Easter. Weddings and baby showers also offer a chance to showcase elegant designs, using white chocolate drizzles, gold dust, or delicate flowers made from fondant. The key is to let the event’s theme inspire your decorations, making your cake pops not just treats but part of the celebration’s decor.

Embracing these variations and creative ideas allows you to tailor your cake pops to any taste or occasion, making them as unique and special as the moments they’re made for. Whether sticking with the classics or experimenting with new flavors and designs, the world of cake pops is yours to explore.

Storing and Making Ahead

Storing cake pops correctly is key to maintaining their freshness and flavor. At room temperature, they can last up to a week when kept in an airtight container. This is ideal for short-term storage and ensures the candy coating stays crisp. However, if you’re dealing with warmer climates or need to extend their shelf life, refrigeration is your next best option. Chill them in a sealed container to prevent condensation from softening the coating. Remember, sudden temperature changes can cause condensation, so it’s wise to let them gradually come to room temperature before serving.

Making Cake Pops Ahead of Time

Planning to dazzle guests at your next event with homemade cake pops? You’re in luck, as these treats are perfect for making ahead of time. Prepare and freeze the undipped cake balls up to a month in advance. When the event draws near, thaw them in the refrigerator, then dip and decorate. This approach not only spreads out your prep work but also ensures your cake pops are as fresh and delicious as possible. By planning ahead, you can enjoy your event with one less thing to worry about, confident that your cake pops will be a hit.

FAQs

Customizing Your Cake Pops

Homemade Cake vs. Boxed Mix
Wondering if a homemade cake will work as well as a boxed mix for your cake pops? The answer is a resounding yes. A homemade cake allows for a wider range of flavors and textures, making your cake pops even more special. Just ensure it’s sufficiently moist to bind well with the frosting.

Finding Alternatives to Candy Melts

Substitutes for Candy Melts
Candy melts are not on hand. No worries. Chocolate stands as a great alternative. Whether it’s white, milk, or dark chocolate, adding a bit of coconut oil or vegetable shortening can help achieve that perfect dip consistency. This way, your cake pops will still have that irresistible chocolatey shell.

Storing Your Creations

Longevity of Cake Pops
How long your cake pops stay fresh depends on how you store them. At room temperature, they’re good for about a week. In the fridge, you can extend their life to two weeks. For those who like to plan ahead, freezing cake pops is an excellent option, allowing them to last for up to a month. Just remember to thaw them in the fridge before serving.

Conclusion

Navigating the world of cake pops is an adventure filled with creativity and sweet rewards. From choosing your base to the final decorative touches, each step offers a chance to personalize your treats. Whether you’re experimenting with homemade cake recipes, exploring chocolate alternatives to candy melts, or figuring out the best storage solutions, the journey is as delightful as the destination. With these tips and tricks, you’re well-equipped to create cake pops that will dazzle and delight at any occasion.

Leave a Comment