
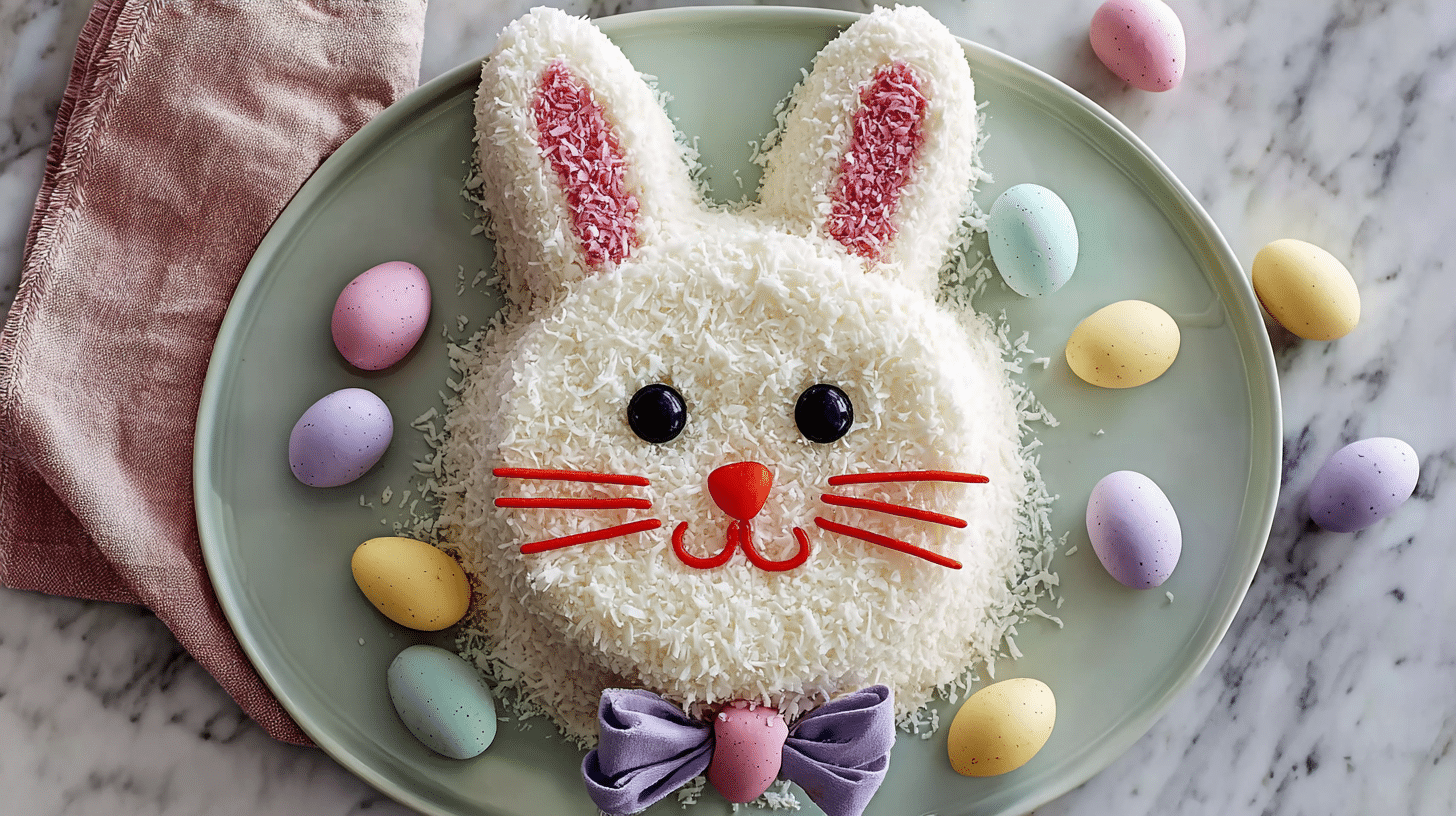
Springtime celebrations call for whimsical desserts, and the Fun Easter Bunny Cake is the ultimate centerpiece for any Easter table. Fluffy, moist cake layers shaped like a playful bunny, frosted with creamy buttercream, and decorated with pastel candies make this cake both visually stunning and delicious. Kids and adults alike will adore the cheerful presentation and melt-in-your-mouth flavors. Perfect for holiday gatherings or family celebrations, this cake combines fun with flavor in every bite. You’ll learn how to bake, shape, and decorate this delightful Fun Easter Bunny Cake, creating a memorable dessert that looks as good as it tastes.
Why You’ll Love This Recipe
The Fun Easter Bunny Cake stands out for its balance of creativity, flavor, and simplicity. The soft, moist cake layers provide a perfect canvas for decorating, while the rich buttercream frosting enhances every bite. The combination of textures—from tender cake to creamy frosting to crunchy candy accents—makes it a multi-sensory treat.
This cake is easy to make with basic baking skills, yet the result is impressive enough to impress friends and family. The design can be personalized with different colors, candy eyes, or small chocolate eggs. Whether hosting a large Easter brunch or making a fun activity with kids, this recipe delivers a festive, tasty, and memorable dessert. It also works well as a creative birthday cake or springtime celebration centerpiece.
Ingredients
2 1/2 cups (315 g) all-purpose flour
2 1/2 teaspoons baking powder
1/2 teaspoon salt
1 cup (230 g) unsalted butter, softened
2 cups (400 g) granulated sugar
4 large eggs
1 teaspoon vanilla extract
1 cup (240 ml) whole milk
3/4 cup (90 g) cocoa powder (for chocolate layer, optional)
3 cups (360 g) powdered sugar
1 cup (230 g) unsalted butter, softened for frosting
1/4 cup (60 ml) heavy cream
Food coloring: pastel pink, blue, yellow (optional)
Assorted candies: chocolate eggs, jellybeans, or sprinkles for decoration
The ingredients list allows you to create both vanilla and chocolate layers, plus a smooth, colorful buttercream frosting that holds decorations perfectly.
Pro Tips
Even Cake Layers – Use a kitchen scale to measure batter equally for each pan. This ensures uniform baking and easier stacking.
Crumb Coat the Cake – Apply a thin layer of frosting before adding decorations. This locks in crumbs and keeps the final frosting smooth.
Work with Piping Bags – For intricate details like bunny whiskers, eyes, or borders, piping bags allow precision and clean designs.
Extra tip: chill the cake slightly before cutting shapes to prevent crumbling.
Instructions
Step 1: Prepare the Pans and Oven
Preheat oven to 350°F (175°C). Grease two 9-inch round cake pans and line the bottoms with parchment paper. For the bunny ears, use cupcake pans or small silicone molds.
Step 2: Make the Cake Batter
In a medium bowl, whisk together flour, baking powder, and salt. In a large mixing bowl, beat butter and sugar until fluffy. Add eggs one at a time, beating well after each addition. Stir in vanilla extract. Alternate adding flour mixture and milk, beginning and ending with flour. For a chocolate layer, fold in cocoa powder.
Step 3: Bake the Cake
Pour batter evenly into pans and bake for 25–30 minutes, or until a toothpick inserted into the center comes out clean. Allow cakes to cool in pans for 10 minutes before transferring to a wire rack.
Step 4: Prepare the Frosting
In a large bowl, beat softened butter until smooth. Gradually add powdered sugar, alternating with heavy cream, until frosting reaches a spreadable consistency. Tint portions of frosting with desired food coloring for decorative accents.
Step 5: Assemble the Cake
Trim the tops of cake layers for even stacking. Cut one layer into an oval for the bunny’s body and a smaller oval for the head. Place head on top of body layer with a thin layer of frosting to secure. Bake or use pre-baked smaller cakes for bunny ears and attach with frosting.
Step 6: Decorate
Apply a crumb coat and chill 15 minutes. Spread remaining frosting over the cake smoothly. Use piping bags to add bunny eyes, nose, and whiskers. Add candies, sprinkles, or chocolate eggs around the bunny for a festive touch.
Step 7: Final Touches
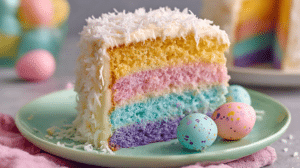
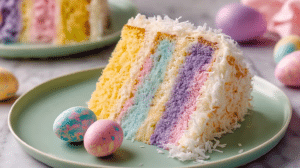
Refrigerate for 30 minutes to set the frosting before serving. Slice carefully to reveal the fluffy layers and enjoy the fun, colorful presentation.
Variations
Chocolate Bunny Cake – Make all layers chocolate and use chocolate buttercream for a richer flavor.
Mini Bunny Cupcakes – Use the same batter to make individual bunny-shaped cupcakes for easier serving and portion control.
Fruit Filling – Add a layer of strawberry or raspberry jam between cake layers for a fruity twist that pairs well with buttercream.
These variations allow customization for different tastes, dietary needs, and occasions.
Storage and Serving
Store leftover Fun Easter Bunny Cake in an airtight container in the refrigerator for up to 4 days. To maintain freshness, keep it covered to prevent frosting from drying. Bring the cake to room temperature before serving for optimal flavor and texture.
Serve with a side of fresh berries or a glass of milk. Mini bunny cupcakes can be a fun addition to an Easter basket or party favor.
FAQs
1. Can I make this cake ahead of time?
Yes, bake layers and frosting a day ahead. Assemble and decorate the day of serving.
2. Can I use store-bought frosting?
Absolutely! Store-bought frosting can save time and still provide a smooth, colorful finish.
3. How do I prevent the cake from drying out?
Don’t overbake, and store in an airtight container. Adding a simple syrup layer can also lock in moisture.
4. Can I freeze this cake?
Yes, wrap layers in plastic wrap and freeze before frosting. Thaw completely before assembling and decorating.
5. Are there gluten-free options?
Yes, replace all-purpose flour with a 1:1 gluten-free baking blend. Adjust baking time slightly.
This Fun Easter Bunny Cake is comfort food at its finest — a visually delightful, moist cake with creamy buttercream and playful decorations. It’s the kind of dessert that brings joy to Easter gatherings, spring celebrations, or even birthdays, delighting both kids and adults alike. Creative, flavorful, and festive, it’s a centerpiece that’s as delicious as it is charming.