
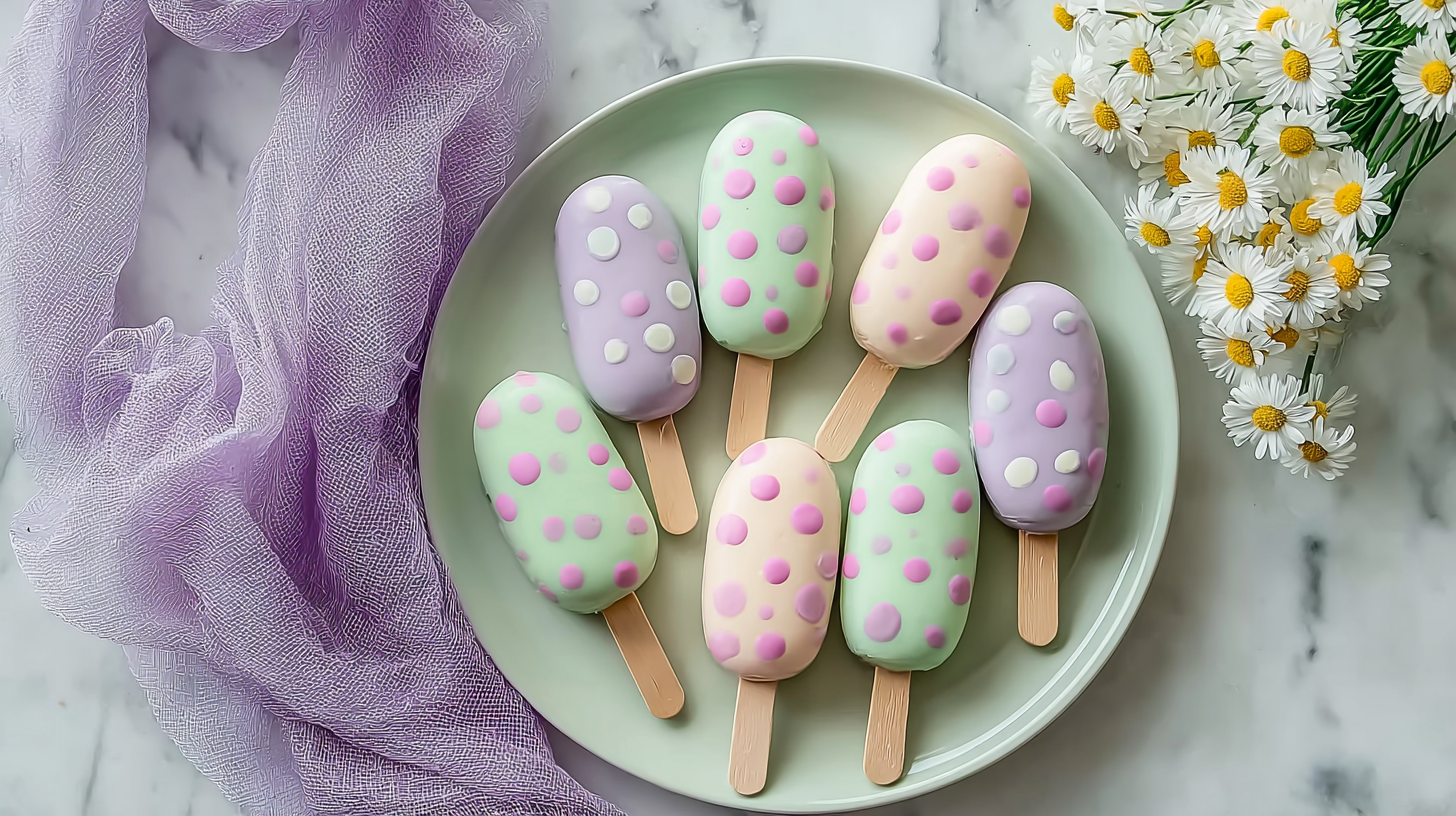
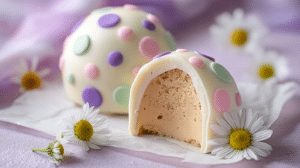
Colorful, glossy chocolate shells that crack open to reveal soft, moist cake centers make Sweet Easter Cakesicles the ultimate springtime treat. These adorable cake pops on sticks combine creamy frosting, tender crumbs, and a snappy candy coating in every bite. Perfect for Easter baskets, dessert tables, or gifting, they look bakery-perfect but come together with simple steps at home. The bright pastel decorations and festive sprinkles instantly create holiday charm. You’ll learn how to mold, coat, and decorate cakesicles with confidence for stunning results every time.
Why You’ll Love This Recipe
There’s something irresistible about Sweet Easter Cakesicles. First, they combine the rich, moist texture of cake with a crisp chocolate shell that snaps gently when you bite into it. That contrast between creamy interior and firm coating creates a bakery-style experience in handheld form.
Second, they offer endless decorating possibilities. You can swirl pastel candy melts, drizzle white chocolate, or add sprinkles, edible glitter, or mini fondant toppers. They double as dessert and decoration, which makes them perfect for Easter celebrations.
Third, they are easier than traditional layered cakes. You don’t need advanced frosting skills or perfect piping techniques. If you’ve ever made cake pops or easy Easter cake pops, this method feels familiar and approachable.
Because they store well and travel beautifully, Sweet Easter Cakesicles make excellent party favors or edible gifts. They look impressive yet remain beginner-friendly.
Ingredients
To make Sweet Easter Cakesicles, gather the following ingredients:
1 boxed cake mix (15.25 oz / 432 g) plus ingredients listed on box (or 3 cups baked homemade cake crumbs)
½ cup (120 g) vanilla frosting (store-bought or homemade)
12 oz (340 g) white candy melts or white chocolate chips
6 oz (170 g) pastel-colored candy melts (pink, yellow, blue)
1 tbsp coconut oil (if using chocolate chips for smoother melting)
Easter sprinkles, mini candy eggs, or edible decorations
6–8 wooden popsicle sticks
Choose moist cake flavors like vanilla, lemon, or strawberry for bright spring flavor that complements the sweet coating.
Pro Tips
First, achieve the right cake-to-frosting ratio. Add frosting gradually to cake crumbs. Mix until the texture feels like soft dough that holds its shape when pressed. Too much frosting creates greasy cakesicles that lose structure.
Second, coat molds properly. Use a silicone cakesicle mold and brush or spoon melted candy melts evenly along the sides. Make sure the coating reaches all edges to prevent cracking later.
Third, chill between layers. After adding the first chocolate shell layer, refrigerate for 5–10 minutes before filling with cake mixture. Then chill again before sealing with more melted chocolate. These short chilling steps keep your Sweet Easter Cakesicles smooth and professional-looking.
Patience during molding ensures clean edges and a sturdy finish.
Instructions
Step 1: Bake and Crumble the Cake
Prepare the cake according to package directions. Let it cool completely. Once cooled, crumble the cake into a large bowl using your hands. Break it down until you see fine crumbs with no large chunks.
Step 2: Mix the Cake Filling
Add frosting gradually to the cake crumbs. Start with ¼ cup and mix thoroughly. Continue adding small amounts until the mixture forms a soft, moldable dough. Press a small portion between your fingers. If it holds shape without crumbling, it’s ready.
Step 3: Melt the Candy Coating
Place white candy melts in a microwave-safe bowl. Heat in 30-second intervals, stirring between each round until smooth. If using chocolate chips, stir in coconut oil for smoother consistency.
Step 4: Create the Outer Shell
Spoon melted candy into each cavity of your silicone mold. Use the back of a spoon to push chocolate up the sides, creating a thick, even coating. Insert popsicle sticks into designated slots. Chill for 5–10 minutes until firm.
Step 5: Fill with Cake Mixture
Press cake filling gently into each mold cavity, leaving a small gap at the top for sealing. Avoid overpacking to prevent cracking.
Step 6: Seal and Chill
Cover the top with more melted candy melts. Smooth the surface with a spatula. Chill again for 15–20 minutes until fully set.
Step 7: Decorate
Carefully remove each cakesicle from the mold. Melt pastel candy melts and drizzle over the tops. Add sprinkles or mini candy eggs before the drizzle sets.
Your Sweet Easter Cakesicles are now ready to serve or gift.
Variations
You can customize Sweet Easter Cakesicles in many creative ways.
For a lemon twist, use lemon cake and add a teaspoon of lemon zest to the filling. Pair with yellow candy coating for a bright seasonal look.
For a chocolate lover’s version, use chocolate cake and coat with milk or dark chocolate melts. This creates rich chocolate Easter cakesicles with deeper flavor.
If you need a dairy-free option, choose dairy-free cake mix, plant-based frosting, and vegan chocolate melts. The process remains identical while accommodating dietary preferences.
These variations allow you to match flavors and colors to any Easter theme.
Storage and Serving Suggestions
Store Sweet Easter Cakesicles in an airtight container in the refrigerator for up to 5 days. Let them sit at room temperature for 10–15 minutes before serving for best texture.
You can also freeze them for up to 2 months. Wrap individually in plastic wrap before placing in a freezer-safe container.
Serve them in Easter baskets, display upright in decorative jars filled with candy, or arrange on a dessert board alongside cookies and cupcakes. They also make charming party favors wrapped in clear treat bags tied with pastel ribbon.
Their portable design makes them ideal for gatherings, school parties, or spring celebrations.
FAQs
1. Why did my chocolate shell crack?
The cake filling may have expanded slightly if packed too tightly. Leave a small gap when sealing.
2. Can I use homemade cake?
Yes, homemade cake works beautifully. Ensure it cools completely before crumbling.
3. What if I don’t have a cakesicle mold?
You can shape them by hand like cake pops and dip in melted chocolate instead.
4. How do I prevent air bubbles in the shell?
Tap the mold gently on the counter after adding melted candy to release trapped air.
5. Can kids help decorate?
Absolutely. Decorating is fun and simple, making this a great family baking project.
This Sweet Easter Cakesicles is comfort food at its finest — moist cake wrapped in a crisp chocolate shell, decorated in cheerful pastel colors and perfect for spring celebrations. It’s the kind of dish that delights kids and adults alike, brightens Easter dessert tables, and turns simple cake into an adorable handheld treat everyone will love.